Our Santa Special Experience With North Yorkshire Moors Railway

This year our littlest is 4. It’s his first year understanding the whole Santa/Christmas thing and so we wanted to make it a special one. We wanted an amazing experience that he/we would remember. He’s a typical boy – he loves all your stereotypical boy stuff including trains, so we just knew this would be perfect. We booked it at a price of £23pp. The eldest didn’t want to come, and he’s 17 so we didn’t force him.

The elves delivered this letter on the morning of our trip!

We started the day with a delivery from the elves telling Toby he was going on a train ride to meet Santa. This caused so much excitement, he was bouncing happy. We knew straight away this was going to be a good day. We got ready and left. Very early. We’re usually late for everything and we absolutely did not want to miss this.

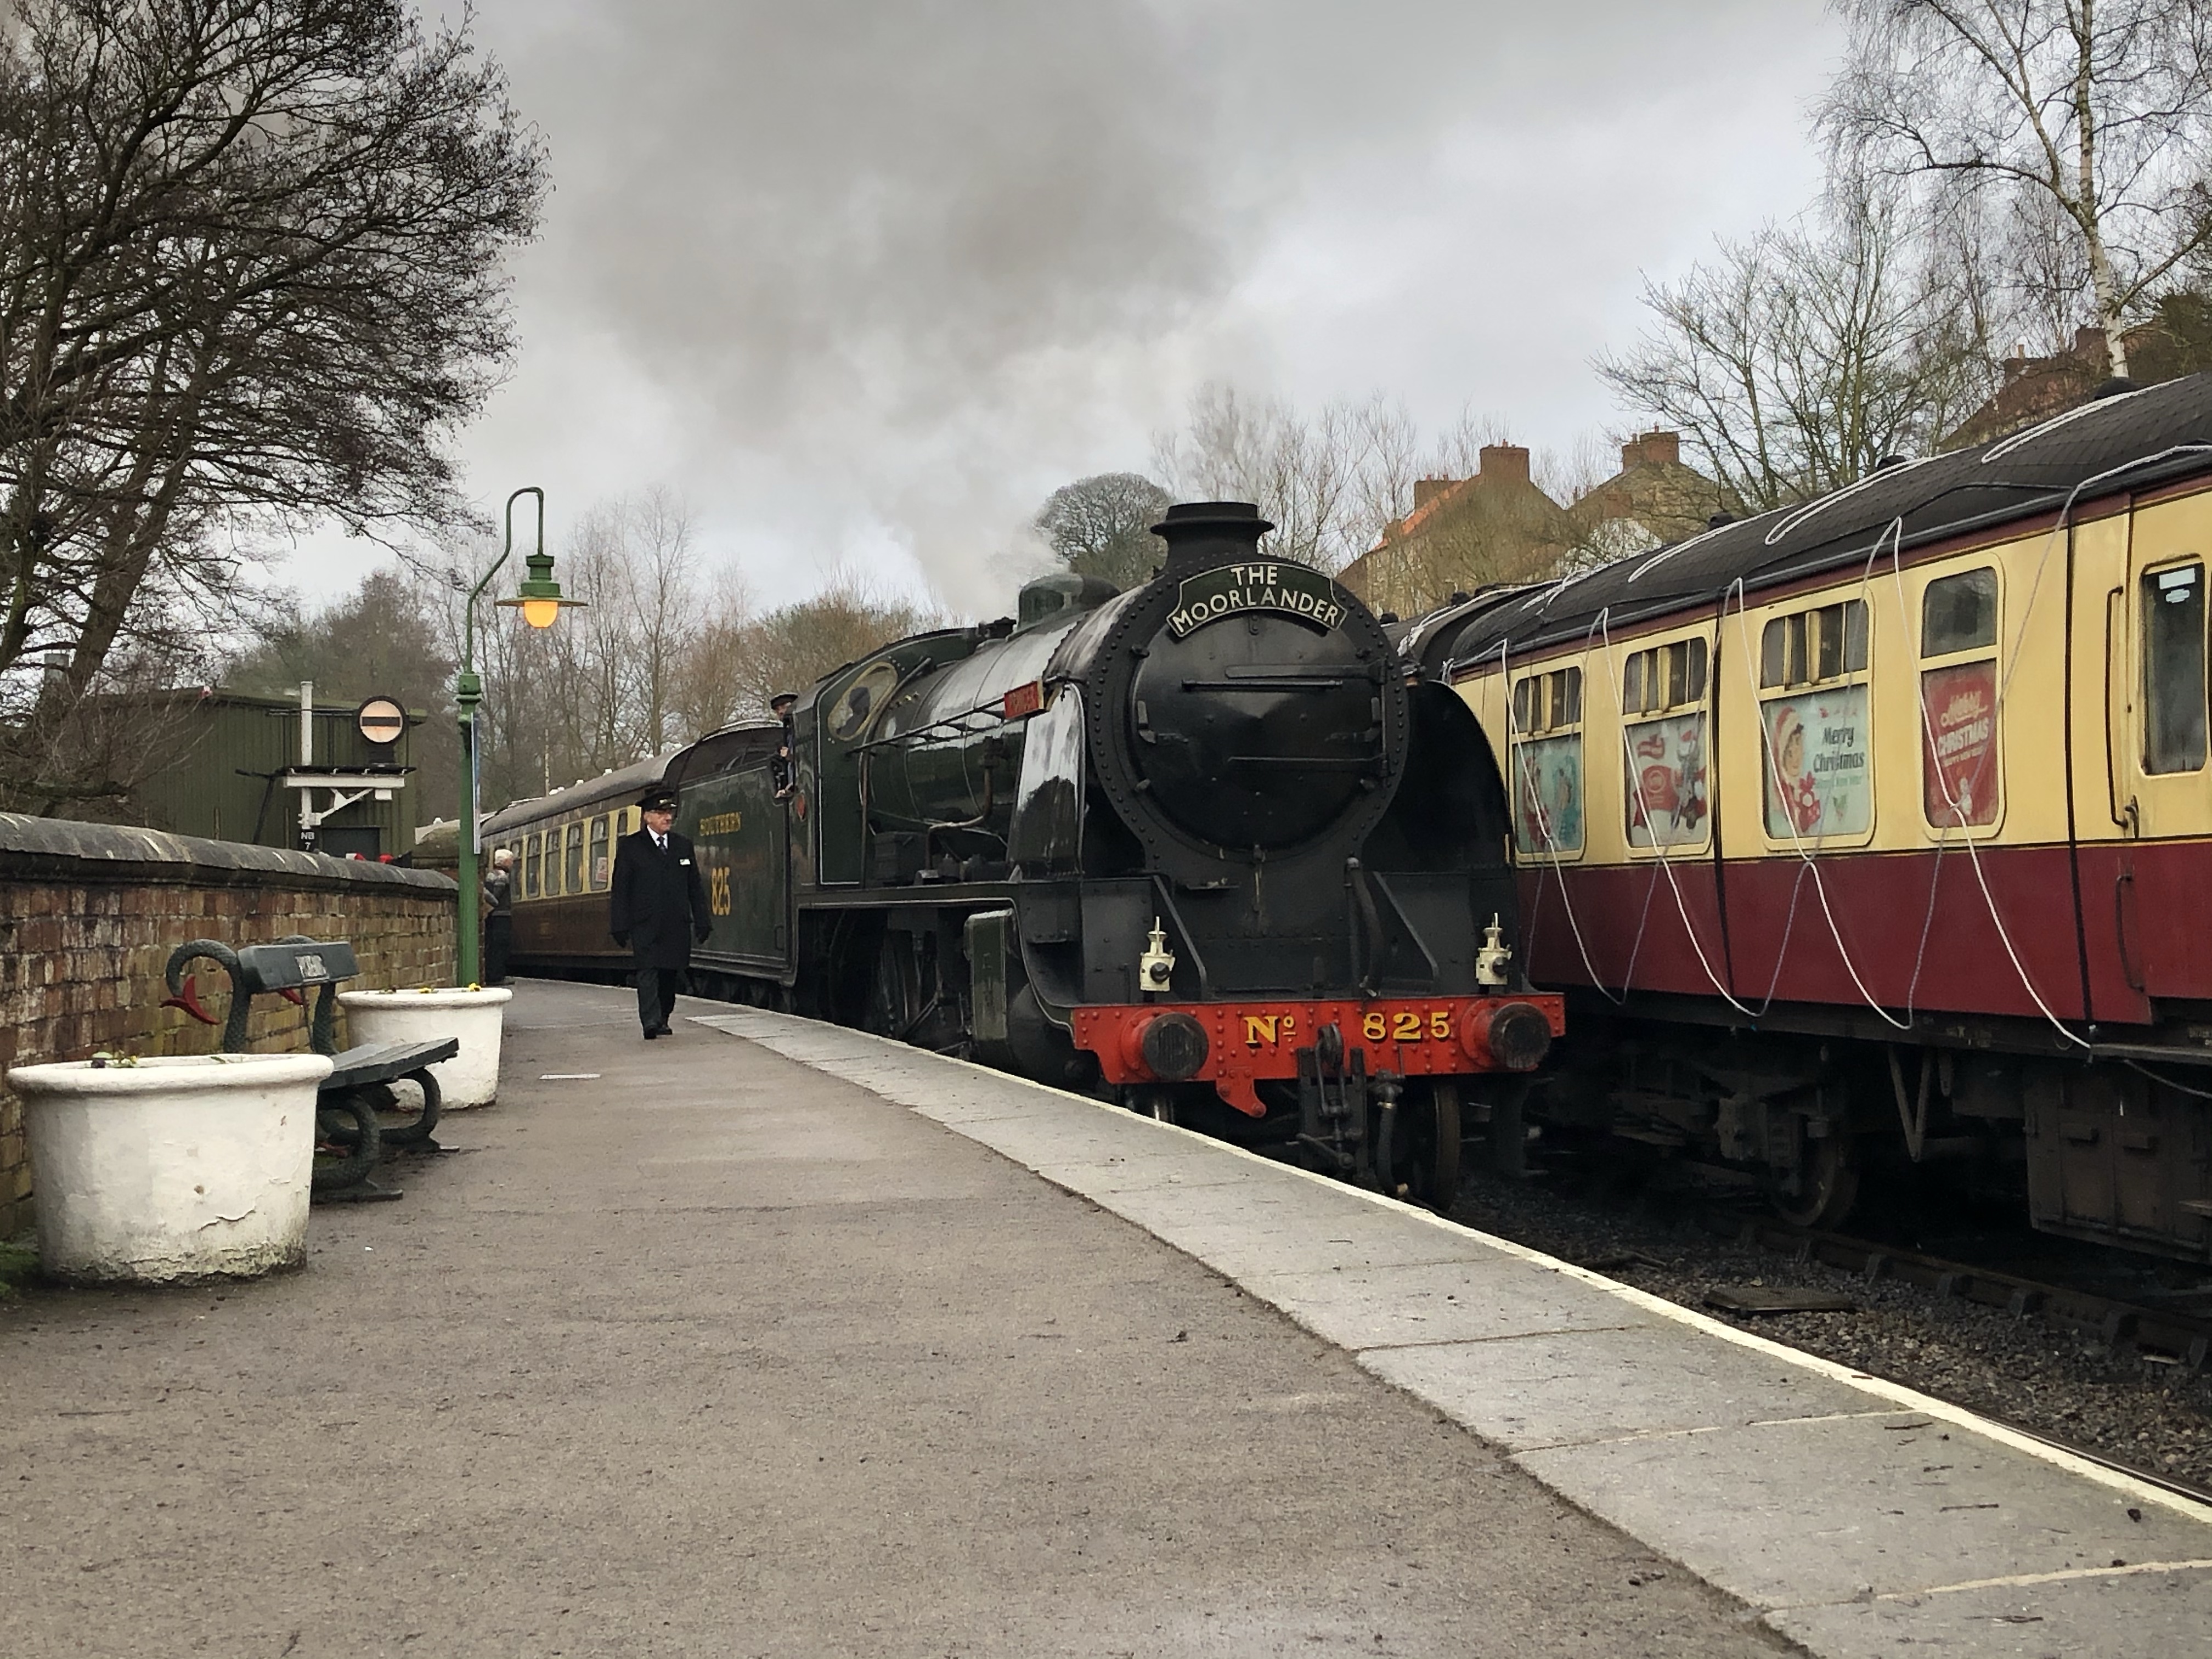
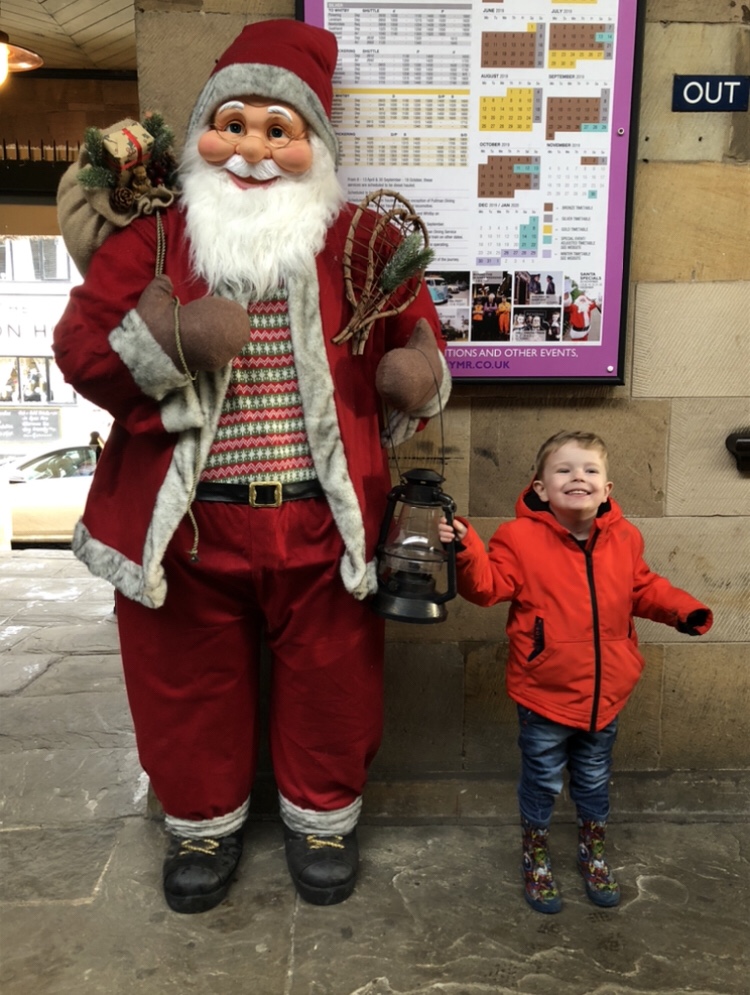
We arrived an hour before our train was due to leave, we managed to watch the steam engines moving around the platforms getting into position and we saw another ride return that had been out for afternoon tea.

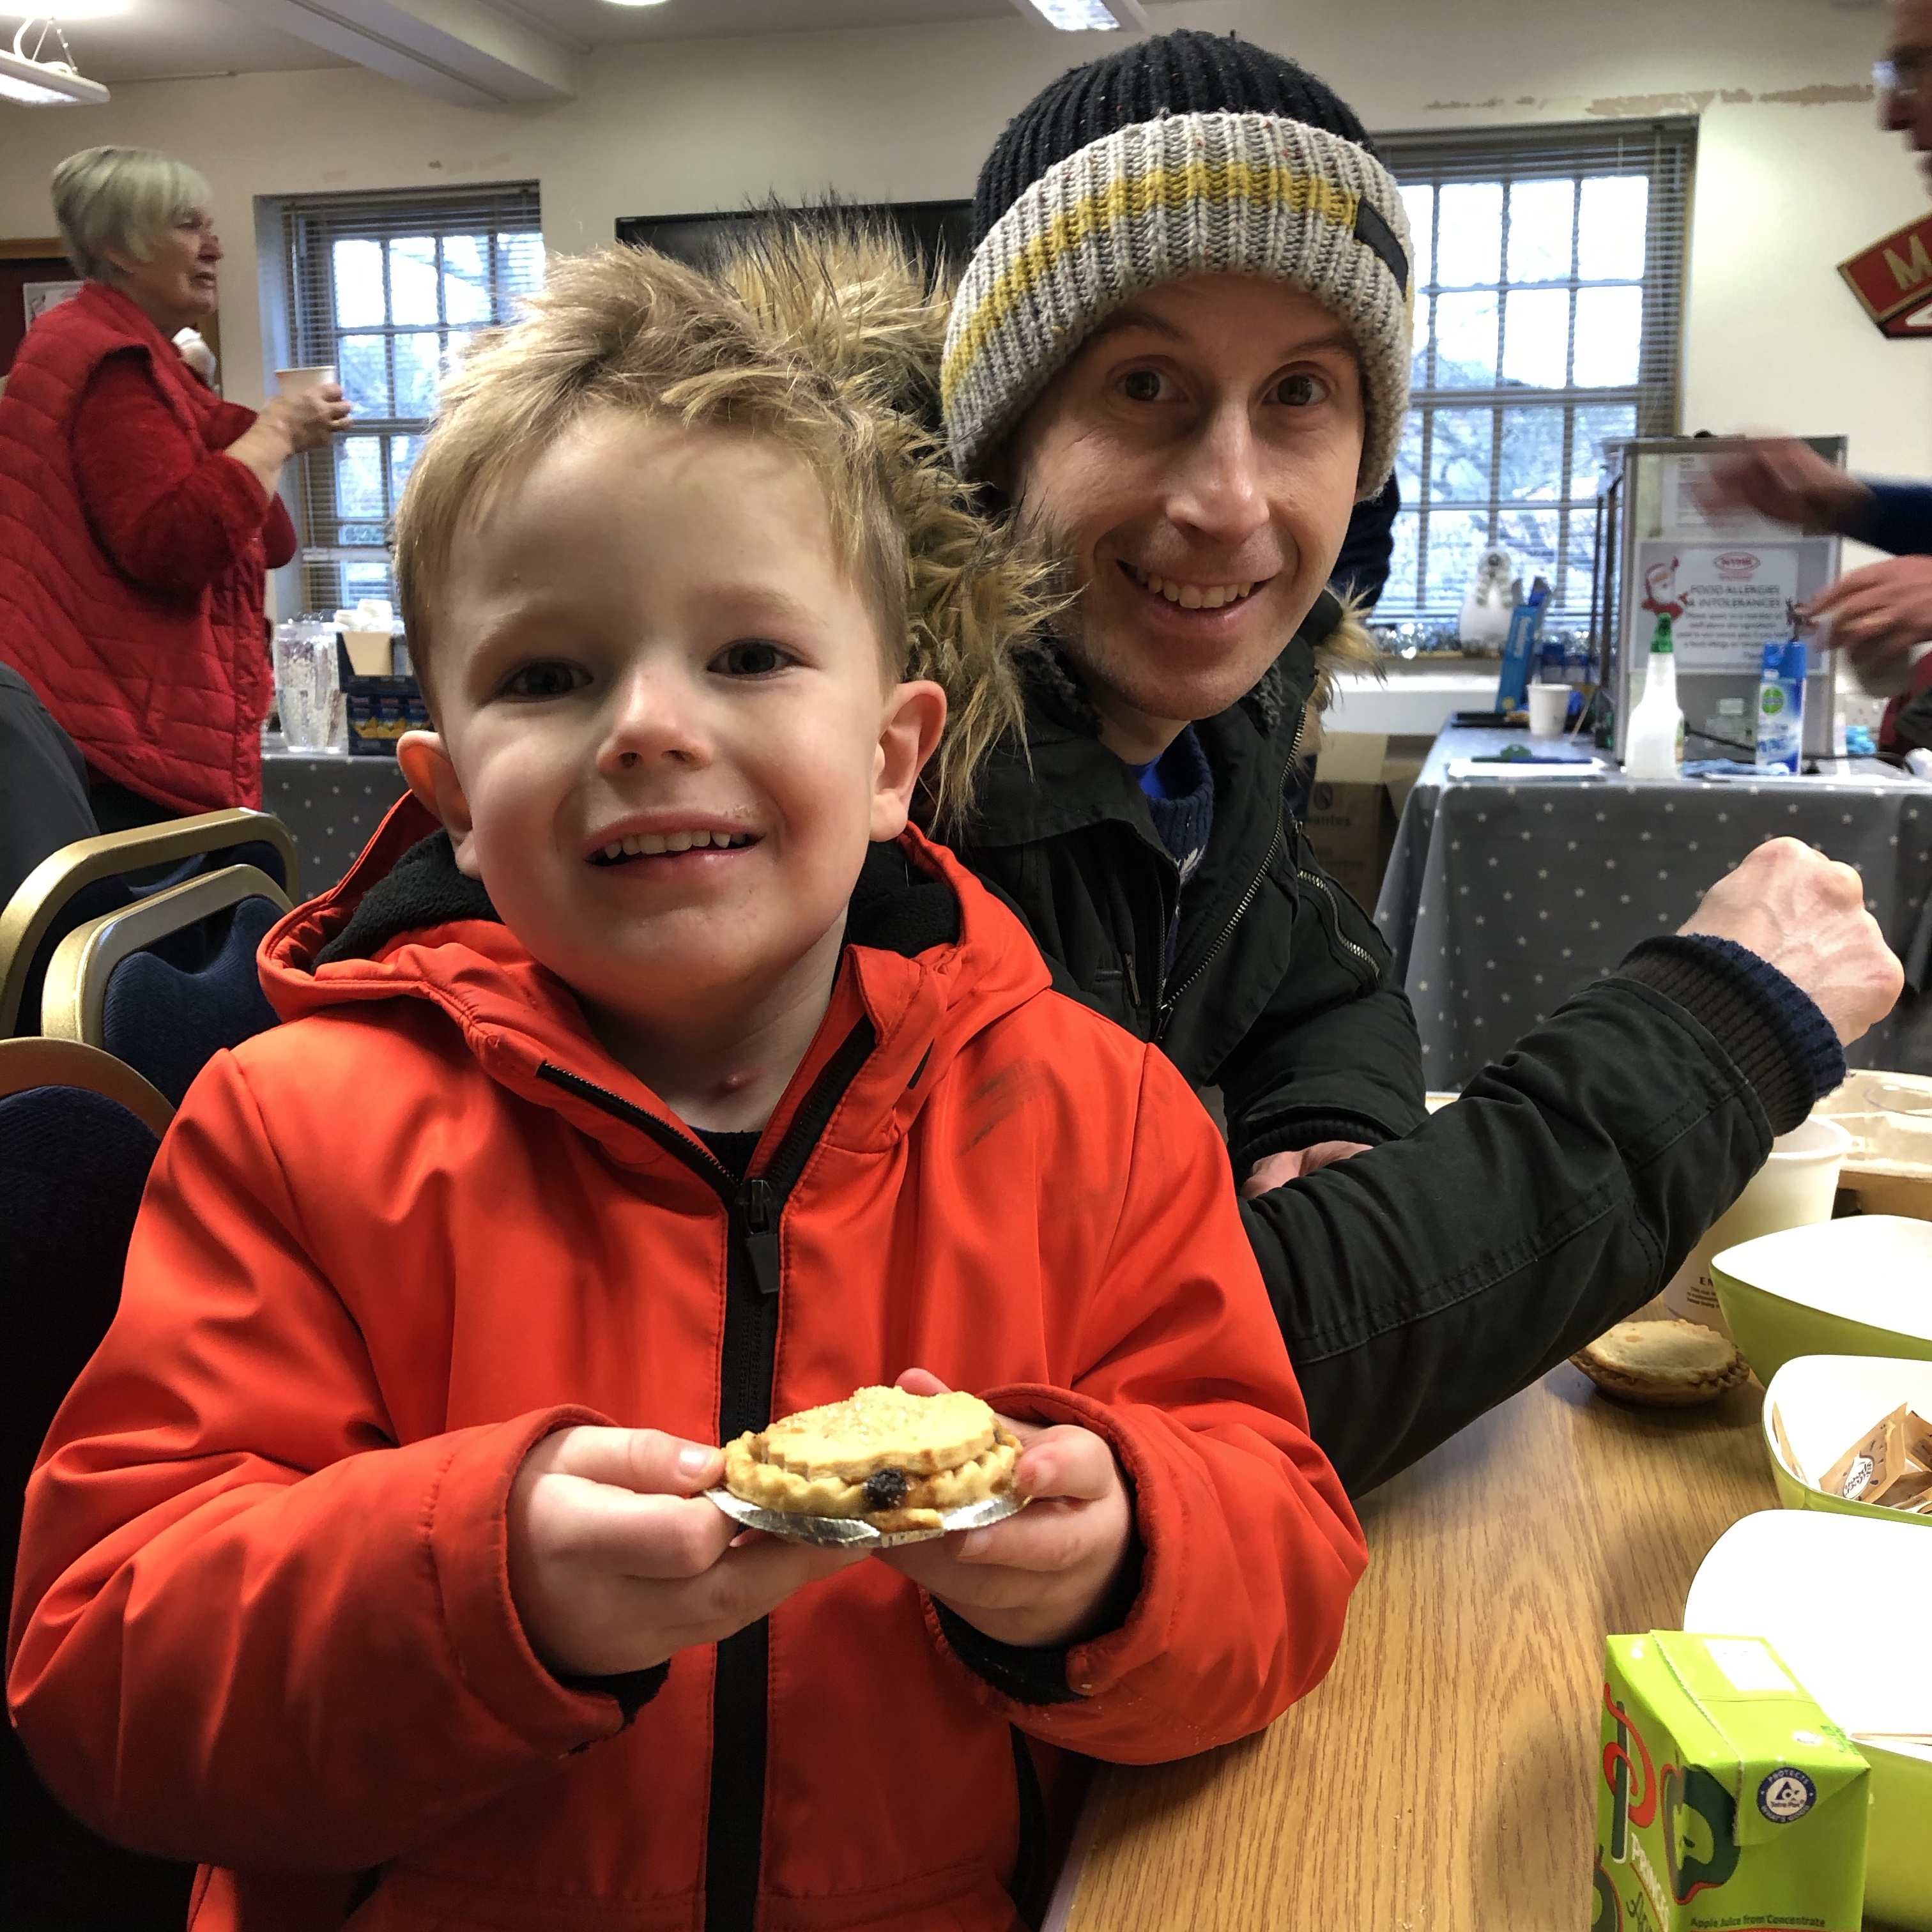
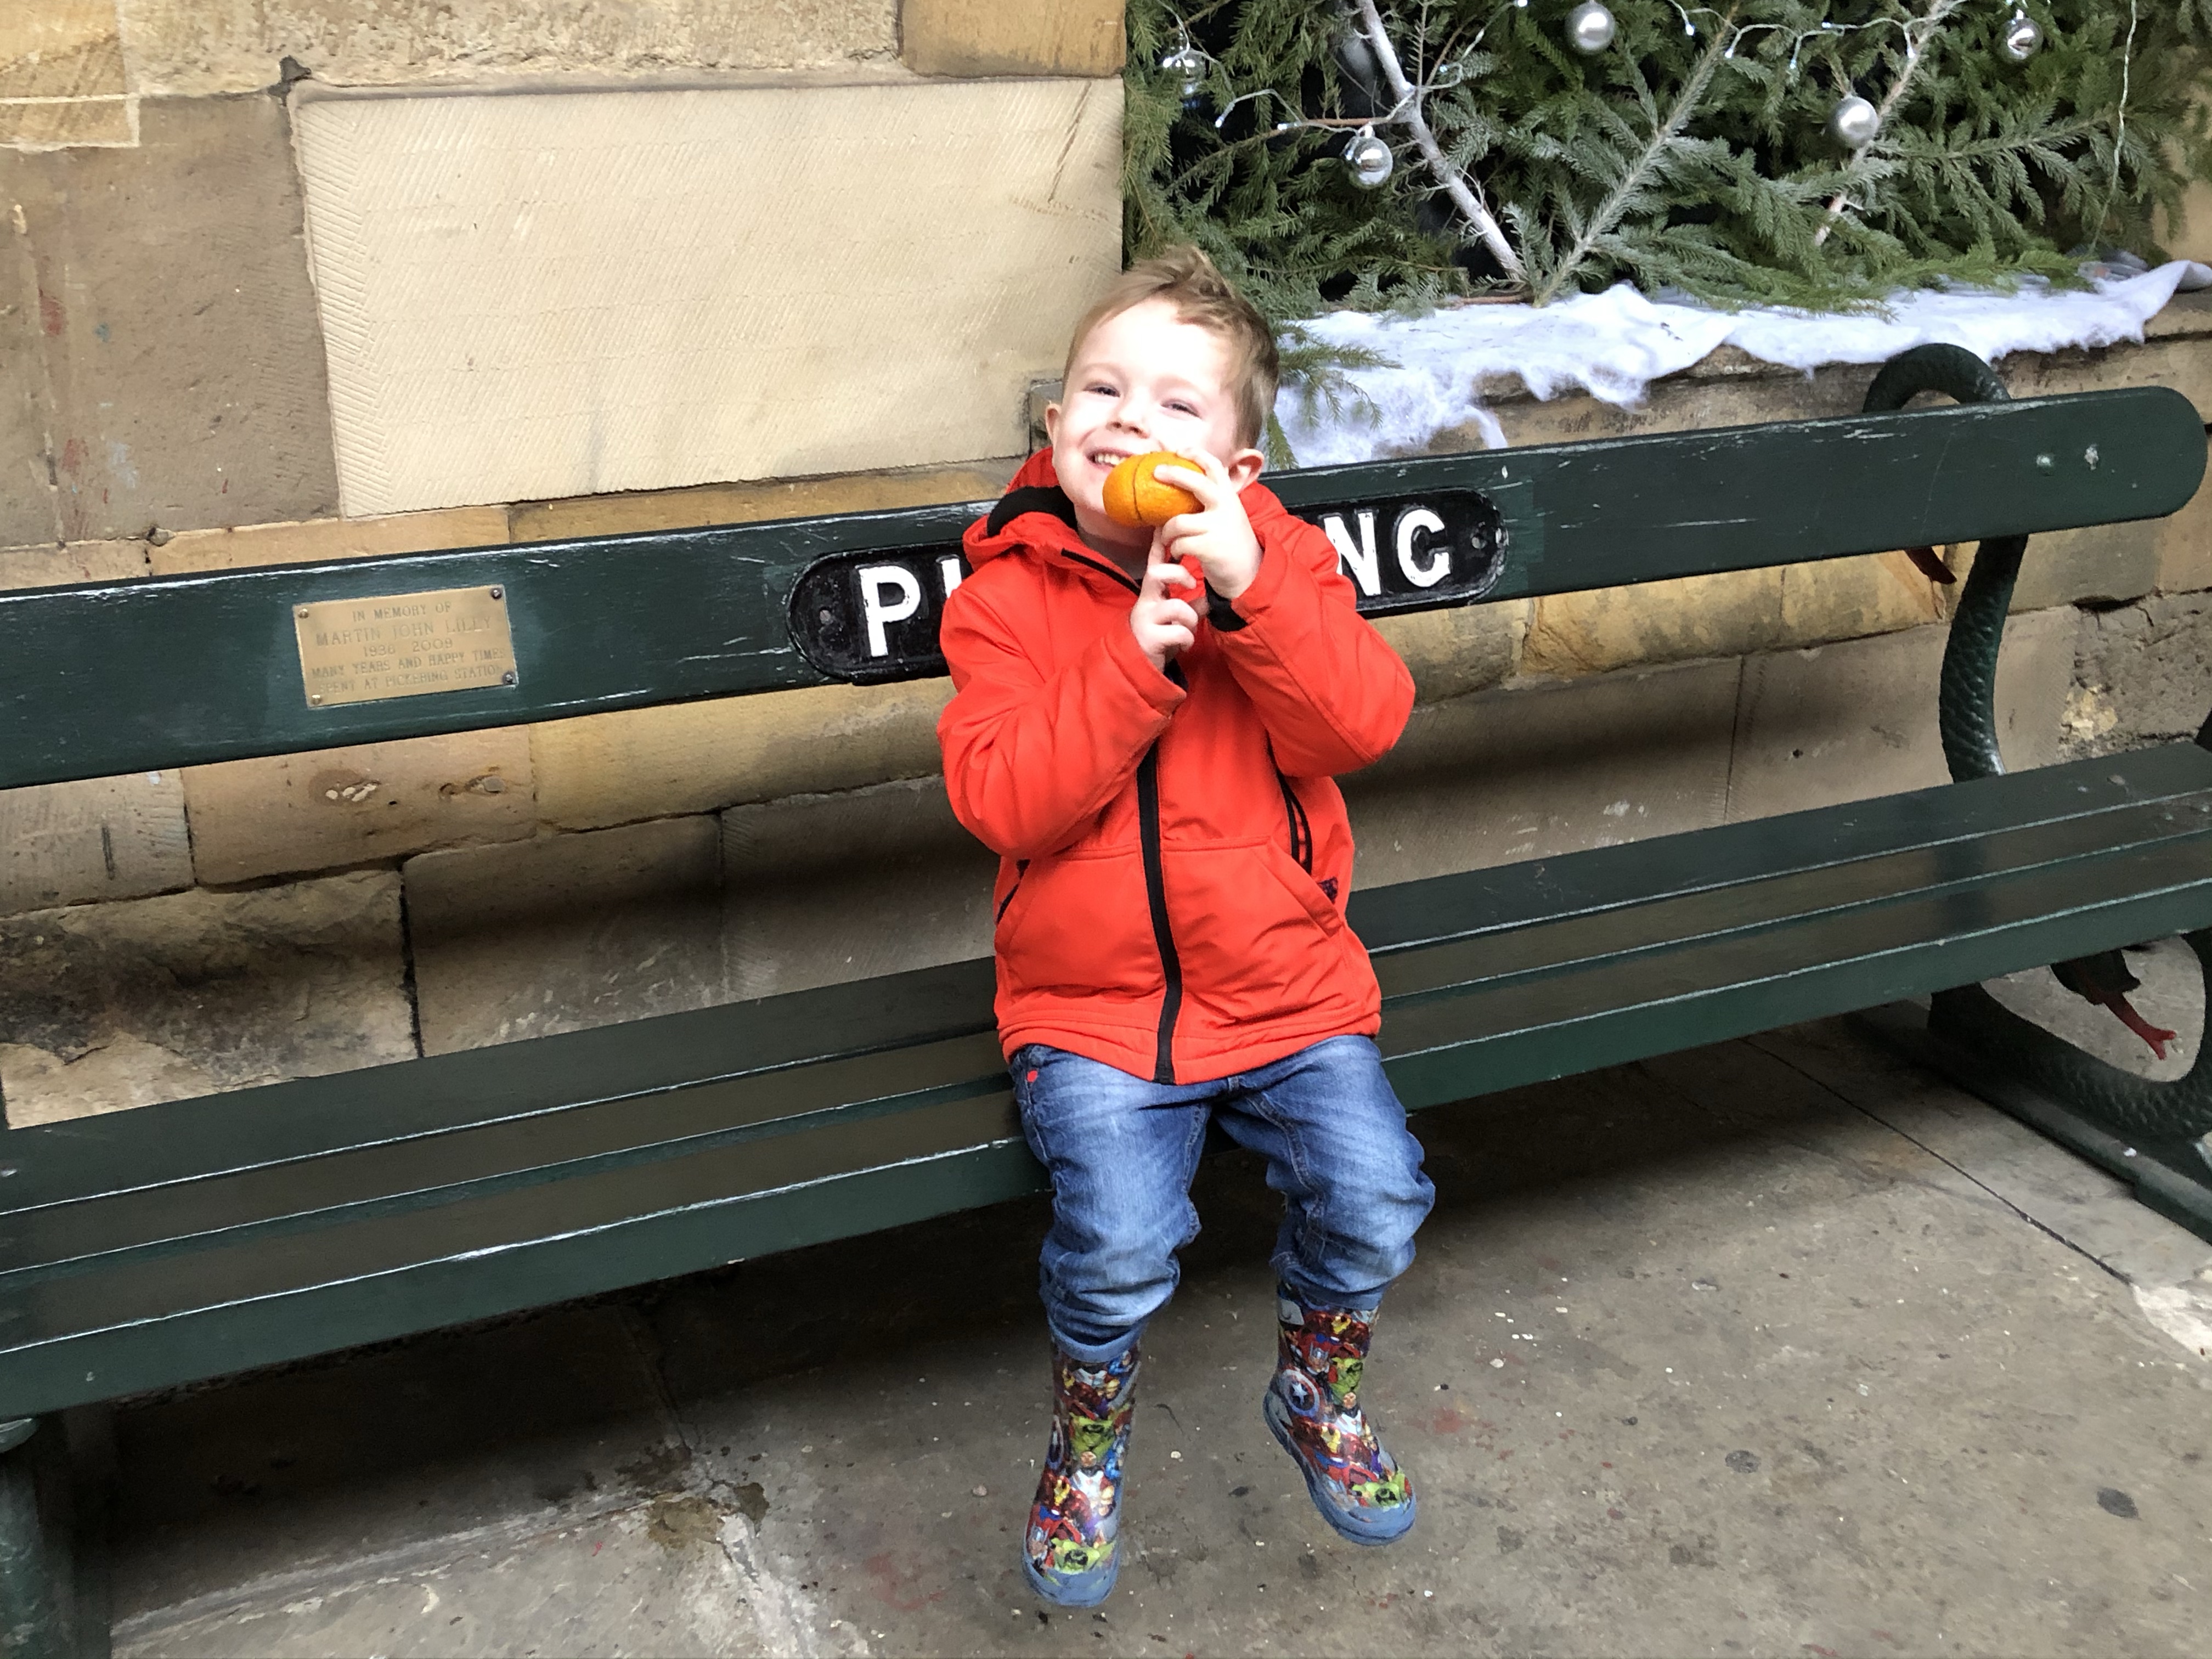
There were lots of staff (volunteers I believe) to help out at the station. We were greeted by several friendly faces who directed us to the refreshments area where we could have a complimentary hot drink, juice, fruit, mince pie and a shot of Irish cream (for the hot chocolate of course).

By the time we’d finished eating/drinking the other guests were starting to arrive, we decided to free up a table and made our way onto the platform to have a look around whilst we awaited our time to get on the train.

We found Santa!
We made orange lollipops – no idea why? When you’re 4 anything goes!

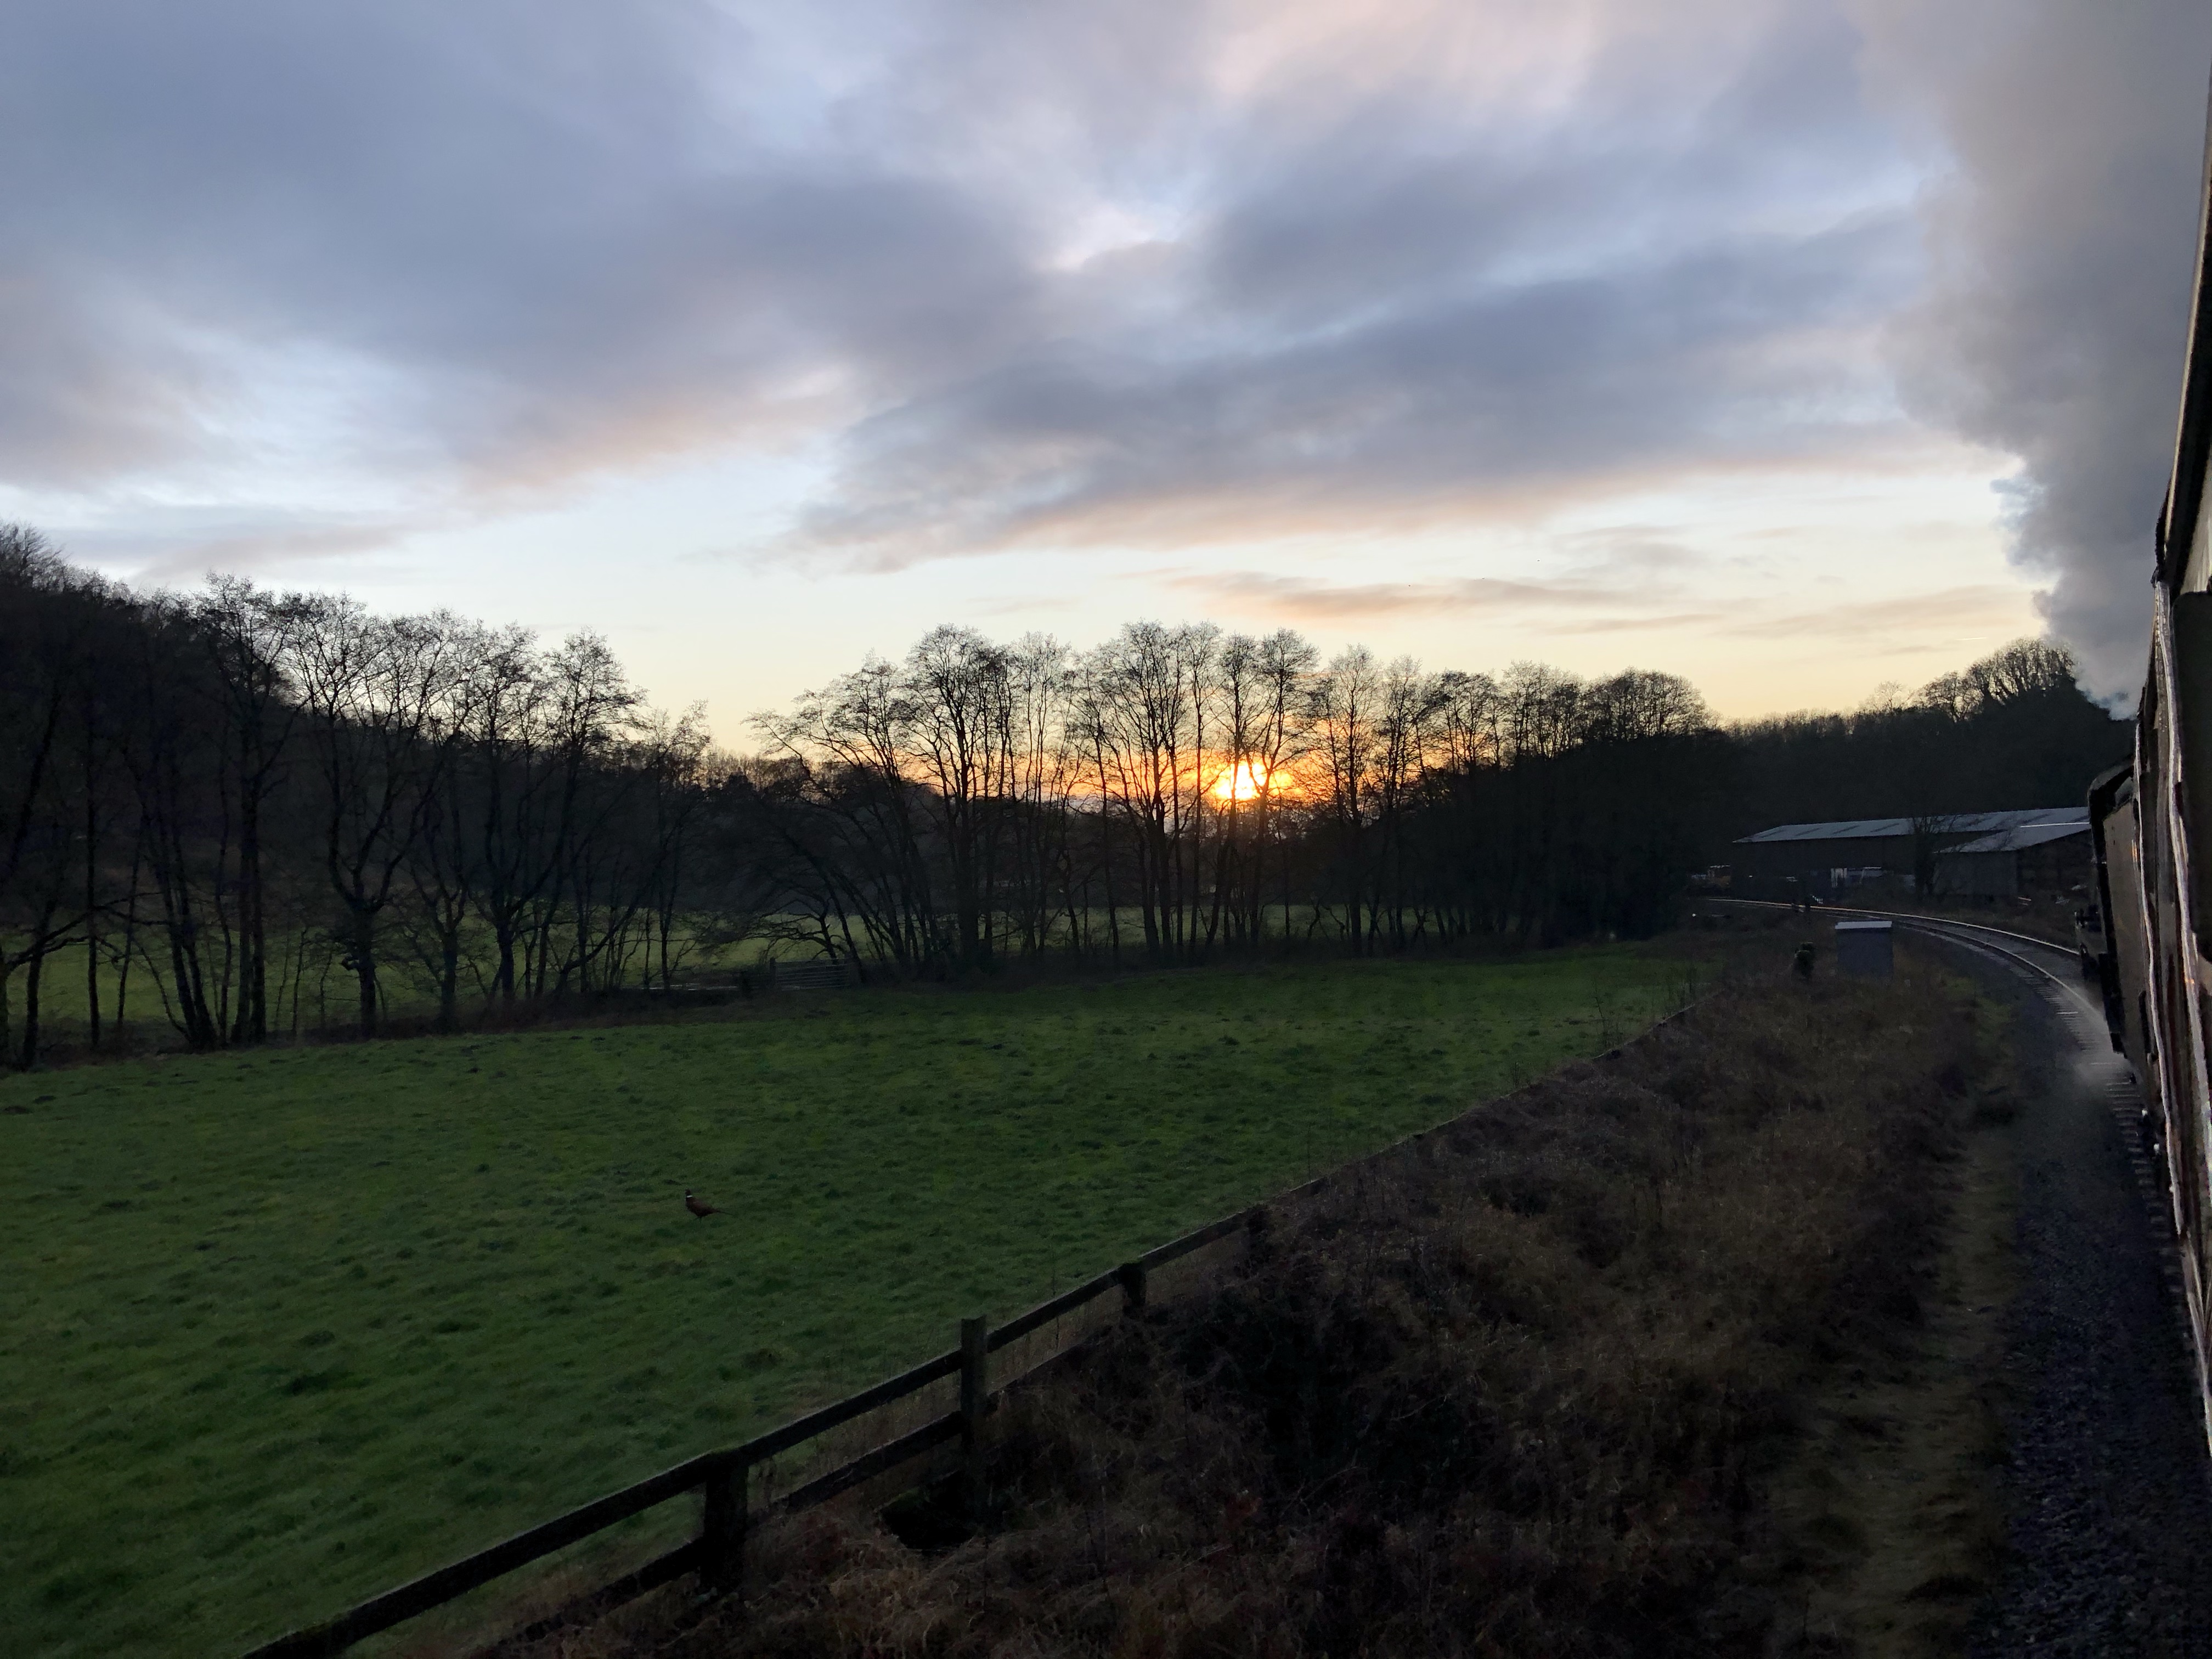
Eventually it was time to take our seats. I’m not going to lie, I was a little disappointed that we were on the back carriage, it was the only seats available by the time I had booked so we took them. I felt that it’d be a little rubbish as we’d be so far away from the engine pulling us. I needn’t have worried though as the train stops halfway through the journey and the engine is turned around to pull it back the other way. So we did the return journey as the first carriage! Winner!

I went off on a tangent there, on the train we were met by Crackers the elf. “Crackers by name , crackers by nature” he said. He wasn’t wrong. His Irish accent was the perfect addition to his character. He was genuinely happy, outgoing and funny, everyone loved him.

Don’t leave your phone lying on the table or Crackers the elf will take lots of selfies (or elfies?)

He had the entire carriage laughing, singing and taking part in games. He picked on our daughter who refused to shout something out after him (she’s 11, a little shy and too grown up now for Santa/Elves, or so she thinks). He named her the grinch for the rest of the journey much to her embarrassment.

The first games he played he chose my partner and another unfortunate dad to take part in a race in our half of the carriage, and two from the other half. They had to race to the middle where Crackers was waiting, doing funny runs and then run back. The whole carriage was in fits of laughter. The game was then repeated with ladies and then children. There was no opportunity to get bored.

The chosen ones!

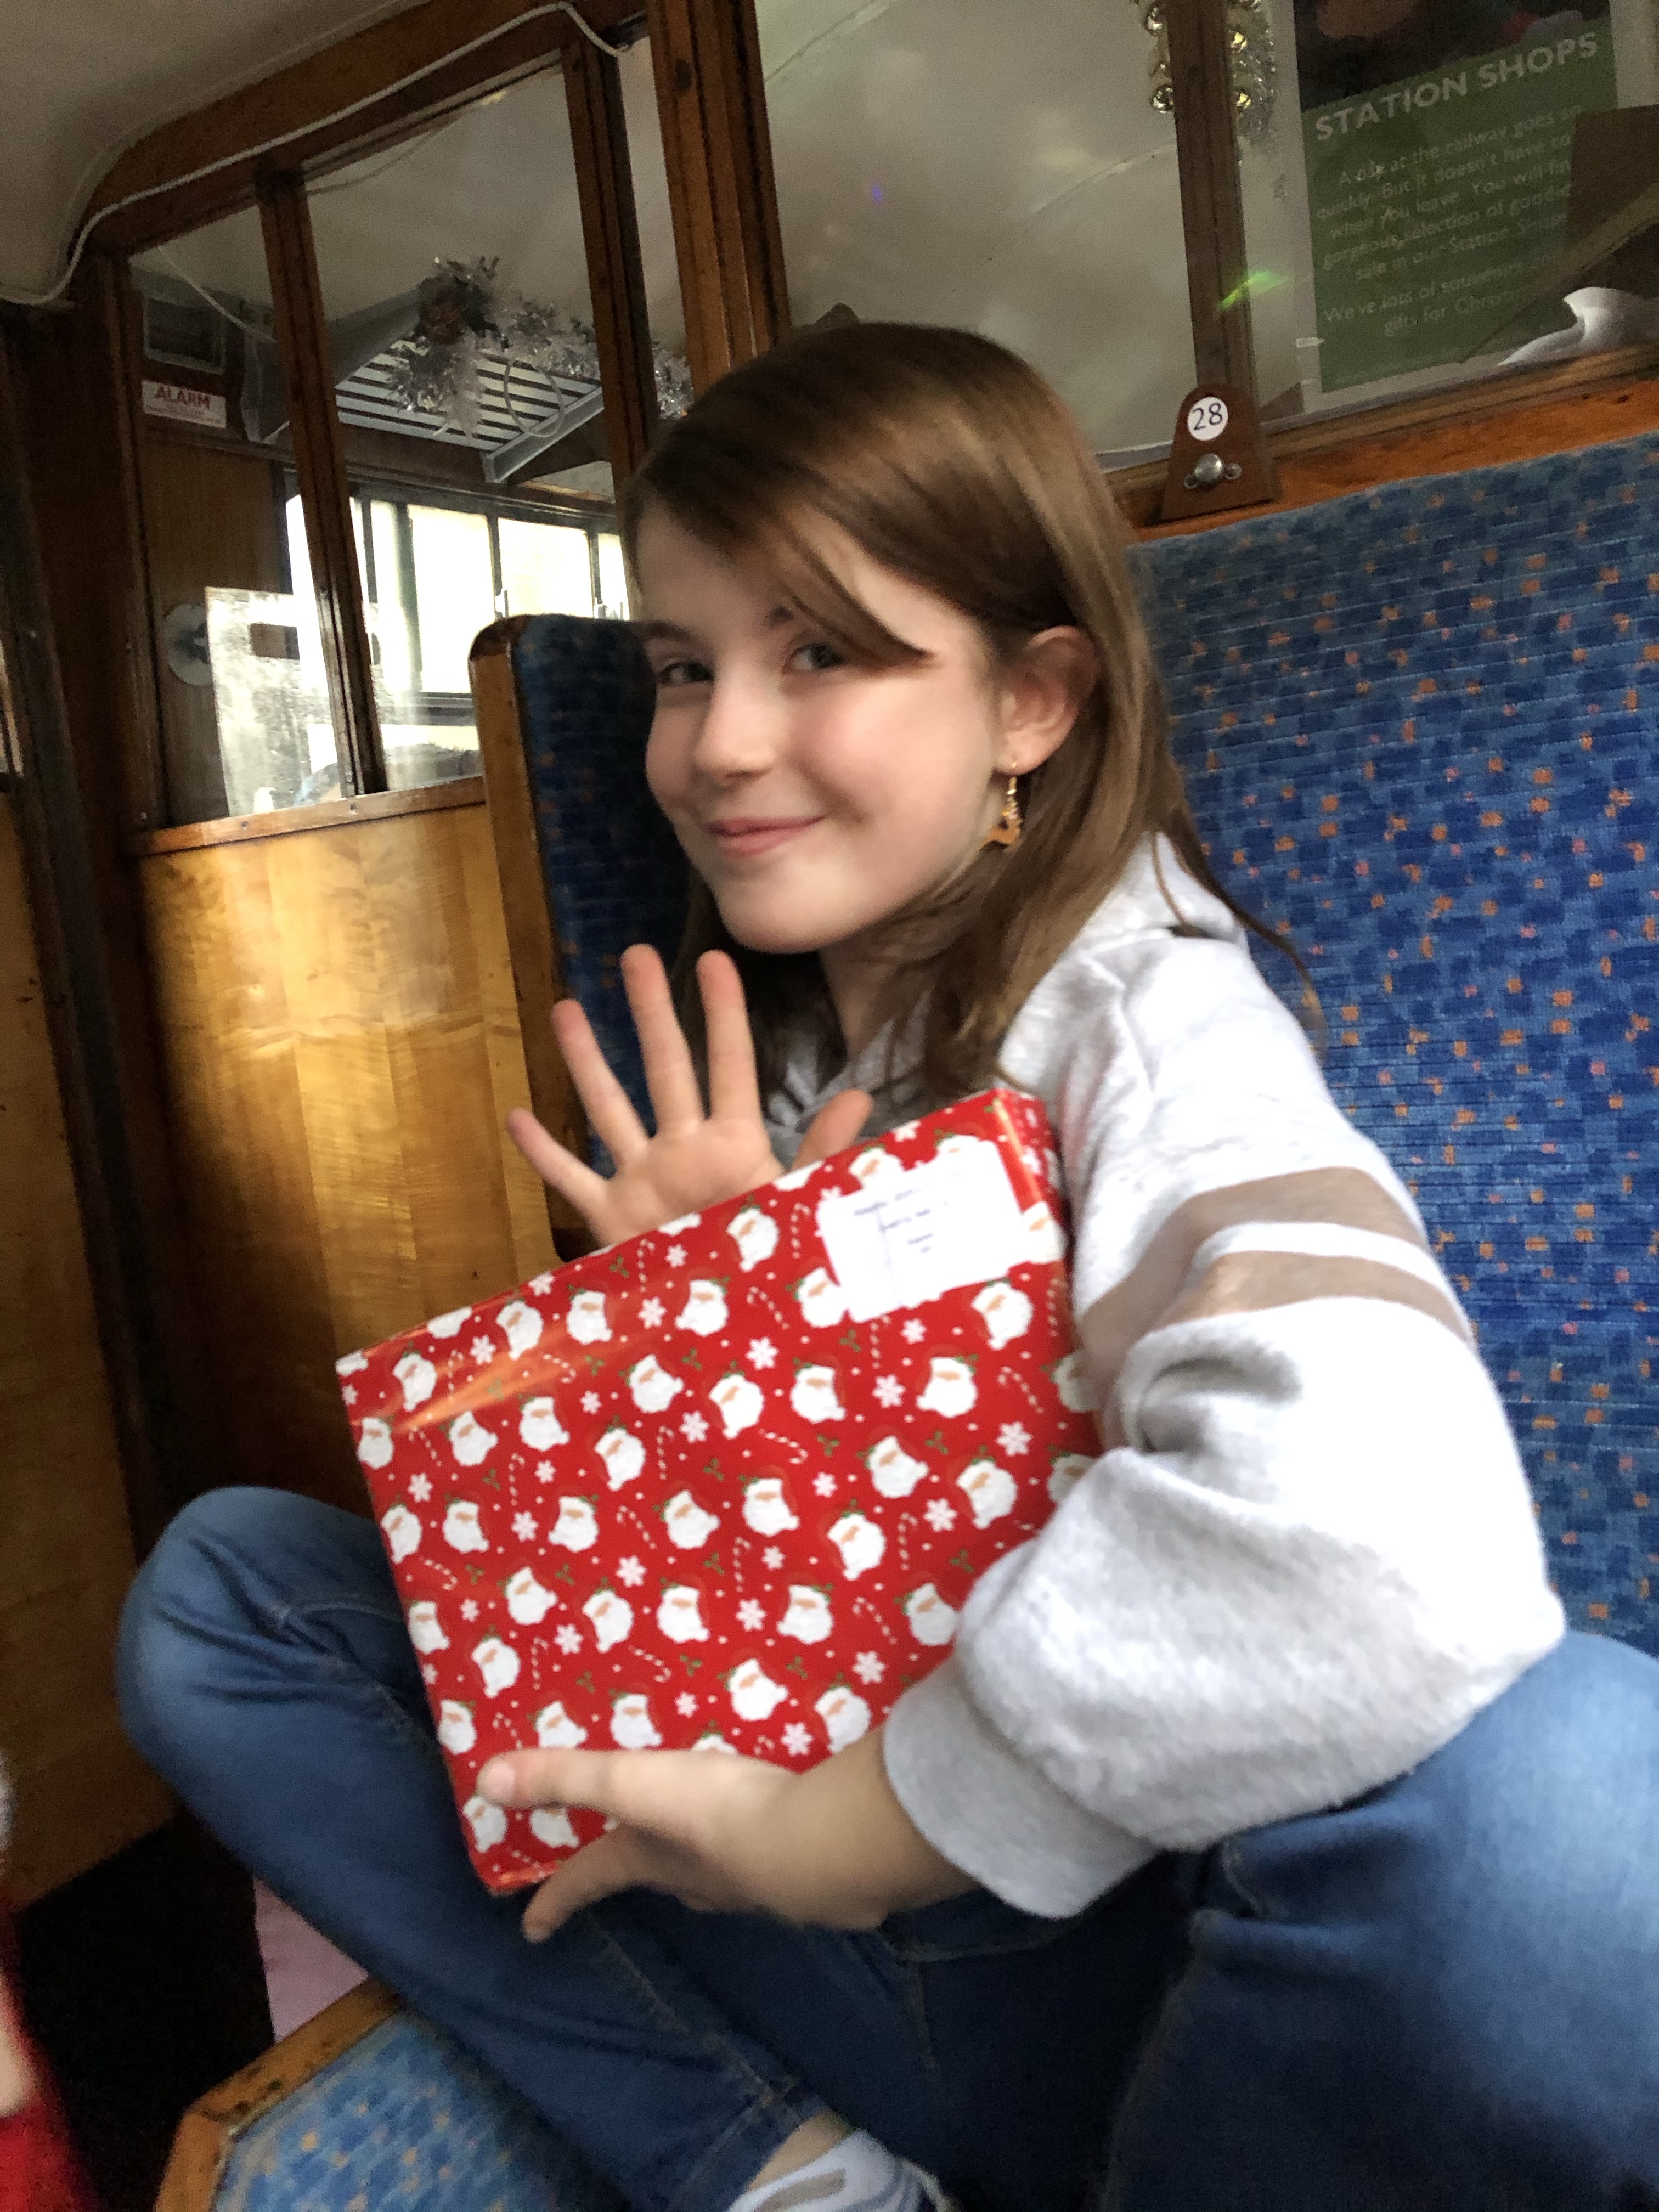
Santa arrived on our carriage around halfway through our journey. He seemed a genuinely happy guy with friendly, smiley eyes. He happily chatted with the kids and didn’t seem rushed. It was at this point that Toby surprised us by asking for a robot. One thing he doesn’t have. Panic! He sat and posed for pictures before moving on to the next bay. Crackers the elf followed with gifts, which all seem well thought about. No generic selection boxes which you find all too often.

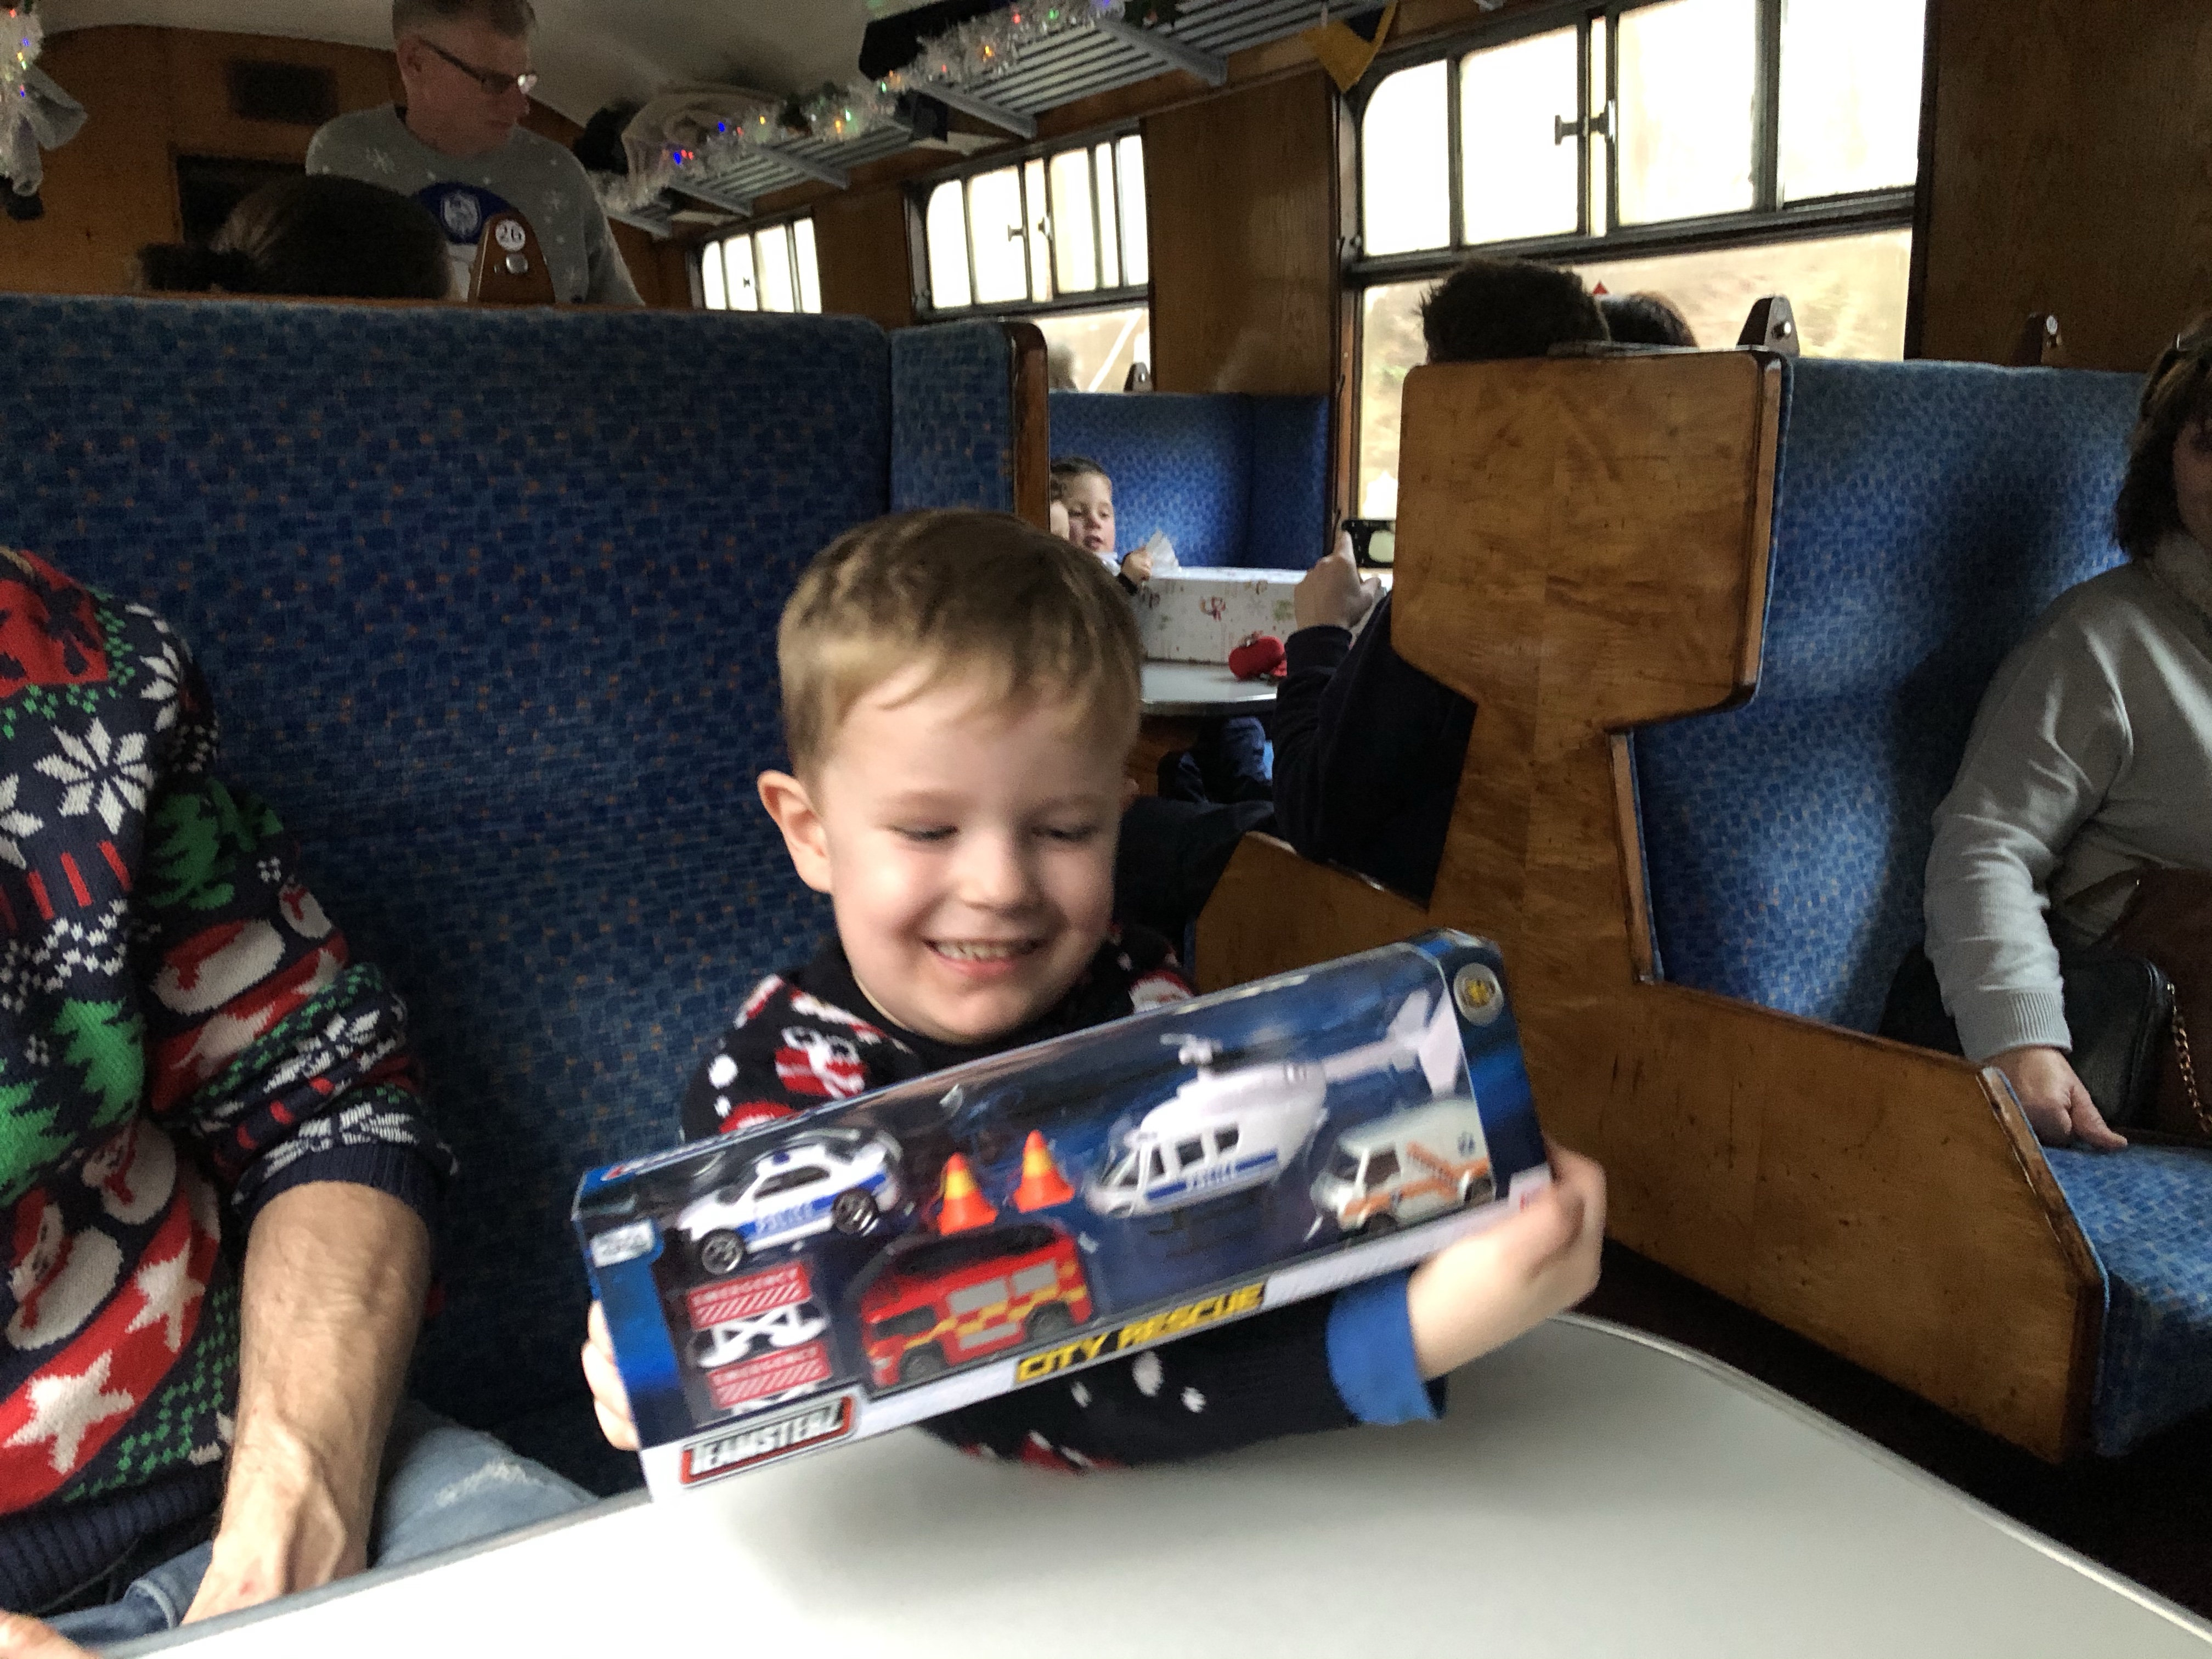
Toby got an emergency vehicle set which he was delighted with, Kaesey (11) got a make your own jewellery set – it came with clay and stampers to shape it and bake it. It was brilliant. Zak (12) got a science kit. It was almost as if the people that chose the gifts knew our kids. We were very pleasantly surprised.

Kaesey with her gift

Once the unwrapping was finished, Crackers came around with some activity packs – these contained things like colouring sheets, pencils etc. By this point we were on our return journey. We played a game of ‘finish the lyrics to the Christmas song’ and then sung along to lots of Christmas songs. It was over before we knew it.

We were all beaming and buzzing from our amazing experience and couldn’t thank the volunteers/staff enough. The attention to detail and event they put on was perfect in every way. I think Toby will talk about it for a long time.

Our journey lasted around 75 minutes altogether

It’s probably too late for any last minute bookings now but if you had considered going but wasn’t sure it would be worth it then I would say go for it! It’s not a cheap day out, but does represent excellent value for money in my opinion, and there’s plenty of time to save for next year!

Paper Plate Christmas Trees With Colour Changing Lights

It’s nearly Christmas (18 days), our favourite time of the year! We love getting crafty and messy. We’re in the middle of decorating the living room at the moment so the telly is off the wall, and everything is piled in the middle of the room meaning no Christmas movies together and no chilling on the sofa with a hot chocolate under a duvet.

Earlier this year we made some chameleons (I’ll do a post about those later) and I had the idea of using the same idea for a Christmas tree with colour changing lights.

I wanted to try it at the school I work in first but couldn’t get hold of paper plates believe it or not so we made them at home!

Here’s how we made them:

Draw a simple Christmas tree design

Poke holes in for lights

This can be done before or after colouring in your tree

Colour away

Colour the lights

We did lots of different colours all over a second paper plate. Toby’s colouring his is in every single colour we have. He also has a moustache and part glasses after the elves drew on him through the night!

Lots of bright colours!

Attach the lights to the back of the tree with a split pin

And spin!! Watch your Christmas tree lights change colour!

Toby was delighted with his tree 🥰

These took us around 20-30 minutes which was perfect for Toby, he’s 4 and hasn’t the greatest attention span so any longer and he’d have soon got bored. You could do much more intricate trees using the same idea which would take longer and be ideal for older kids.

We used double tipped pens – they’re brushes on one end and normal pen tips at the other. I use them for bullet journaling. Paint would probably be good, if not better, but we’re all out for the first time in years! Time to top up.

On that note I’m away shopping now, Merry Christmas 🎄

17 Elf On The Shelf Ideas

We’ve done elf on the shelf now for a couple of years, not the official one but the cheaper mischievous elves! I know only too well how hard it can be to come up with new ideas year after year.

We actually considered making last year the final time, Toby, our youngest, is only 4 and wouldn’t remember, and the older children are now “too grown up” for silly elves that mum and dad obviously move, but they asked if we could carry on for Toby and if they could help. They were very excited about helping to make it magical for him, so continue we have.

The elves arrived this morning with a North Pole breakfast.

We start with a North Pole breakfast and advent calendars. It’s a horrendous amount of sugar which our kids love the look of but in reality the majority of it ended up back in the cupboard to eat later as they couldn’t manage much! I have a few ideas up my sleeve for the next few weeks but here are some of my favourites from the past couple of years.

Chocolate covered Brussels sprouts!

Par boil your sprouts, allow to cool and cover with melted chocolate and sprinkles. You can do much tidier versions than I can but you get the idea!

Photocopier fun!

Make sure you have plenty of ink for this one! Elves having fun with the photocopier is highly entertaining for the kids. It brought giggles in our house.

Elf selfie cookies

How much time do you want to dedicate to elf on a shelf? Ours (over) cooked up some biscuits and decorated them to look like themselves. There are literally loads of recipes to choose from online and lots of tutorials for piping the icing. It’s the first time I’d done anything like this but I don’t think they turned out too horrendously.

Googley eyes!

I don’t think this needs any further explanation.

Target practice.

A packet of toilet rolls and a Nerf fun and you have a quick yet very effective result!

The Christmas tree is pants!

This had to have one of the best reactions from our children, cover your Christmas tree with their pants and socks, leave a note from the elves saying “your tree is pants, it really socks”, or similar.

One for the older ones!

Our elves stole a bottle of beer and they couldn’t handle it! This was the result. Vomit fest. Of course this isn’t for everyone and our kids didn’t really ‘get it’ so it’s probably one for the older ones.

Dry dog biscuits and bad jokes!

Dry dog food angels! Quick and easy.

Ketchup & Squirty cream Santas.

So so quick and easy!! Sure to make the children smile.

There’s snow place like home.

This took two cans of spray snow, I could definitely have used more. It’s one I’ll be repeating this year as we get very little snow here. There’s snow place like home, there’s snow place like home, there’s snow place like home.

Single and ready to Pringle.

Save those empty Pringles tubs for a quick and easy idea! You could also use cereal packets such as Rice Krispies – snap crackle and pop!

I moustache you a question.

There are so many options for this idea – the kids faces, parents faces, elves faces, pen, eyeliner. How far is too far? That depends how naughty your elves are I guess!

Elf smoothies.

This works well if you have a number of elves, failing that let the kids toys join in and help for an alternative.

Face swap!

Pose the elves in a similar style to your children’s photos and replace them. It’s fairly quick and easy and our kids found it hilarious when they realised what the elves had done! I realised after that the top photo wasn’t entirely accurate but it didn’t really matter all that much!

Green elf milk!

Food colouring and milk for a funny elf prank! Our children weren’t sure about green milk on their cereal though so was glad we only did a little bit.

Enviro-friendly elves.

We have tried to reduce our single-use plastic use and we made some eco bricks, the elves helped us one night by stuffing some bottles. Our daughter who had just taken part in a competition in which her and her team raised lots of awareness of the dangers of plastics in the sea was delighted by this.

I’d love to see your favourite elf antics too.

Bullet journaling and home education

Last week we didn’t get much done. I had so many ideas swimming around in my head that I overwhelmed myself with them and I decided that if our home education journey was to be a success then we needed a plan going forward. So I decided to return to bullet journaling. It’s a hobby I previously had and enjoyed and I hope that I will use it going forward now I have a real purpose for it. Bullet journaling is basically a DIY journal with no limits whatsoever. You can have anything in it that helps you, just unleash your creative side! Some popular pages in a bullet journal are weekly/monthly spreads, to do lists, mood trackers, exercise trackers and so much more.

I bought the Leuchtturm 1917 Slim which is an A4 journal and perfect for what I need it for. I previously had the same but in A5 instead.

November 2019

My journal is obviously a work in progress but will be used to show our home education plan to officials, it will be used to organise ourselves and every aspect of our busy lives. It is a source of self-motivation.

I chose a double page monthly layout for my main plans, as you can see we don’t have a particularly busy November planned so far although it’s not complete. This style offers me plenty of room to add in plans for our family of 6. The little dragon in the bottom was added at the insistence of my daughter who was desperate for me to try draw one! I feel he ruins the page in one respect but then when I see him I think of her so he actually makes me smile :).

This is my plan for this week, in no particular order. The beauty of home education is there is no set timetable, if he wants to look at energy today that’s fine, if he doesn’t that’s also ok, as long as he does it this week. Monday we did some work on algebra, and the history of Christmas with History.com. His life revolves around coding so it’s a bit of a given that he’ll do that daily.

I found a great Christmas stocking pattern and tutorial at Bags of Love which we have printed off. The material is on order and we’ll make a start soon. The objectives for this will be to see that he can read and follow the pattern, use a number of different stitches (perhaps not on the sticking but certainly some practise pieces first), safely use a sewing machine, complete the stocking, and finally write up about the project.

We have lots of sources and resources for the other subjects, books, websites and materials. Home education doesn’t have to cost much, in fact many of ours were free or very cheap second hand!