Quick Easter/Spring Corner Bookmarks

We’re self isolating at the moment and also home educating all 3 school age children due to the schools closing down. I work in school and I’m now not rota’d in until June which gives me 12 weeks at home to stay away as far away from the rest of the world as I can.

We’re trying to keep it inexpensive, I’m fully aware that so many people are being completely financially destroyed by this virus and it’s made me appreciate even more what we have at the moment.

I like these bookmarks because they’re quick and easy, and hopefully will encourage the kids to read so they can use them.

Here’s how we made them!
Start with squares of paper – your main piece should be around 15cm squared!
Fold the first piece of paper in half bringing two corner points together.
Fold the top corner down to meet the bottom point.
Repeat with the other side.
Open the folds back out.
Fold the top piece of the bottom points up along the creases.
This is what you should have now.
Bring one of your sides back down and tuck inside the fold you just made.
Like this. I
Repeat with the other side. It should look like this.
This is the completed basic corner bookmark. Now you need to turn it into your chosen character, theme, etc.
This one is going to be a chick. We cut and rounded the edges.
Next we drew on the eyes and cut out the basic shapes to stick on to our chick.
Voila! Our finished chick!
A bit of a clearer picture since we made a yellow chick and have a yellow tablecloth 🤣

There are so many different things you could possibly make with yours. We spent about half an hour on this craft and made these.

Toby (4y) started out making a sunflower one. This turned into a monster sunflower. He is very proud and so am I! Of course some help/supervision is required for cutting out but he enjoyed letting his imagination run free.
Kaesey made an Easter bunny which was really simple..
And a spring flower. (Might be better on the other side but will still work this way too).

Fun Easy To Make Sensory Bottles

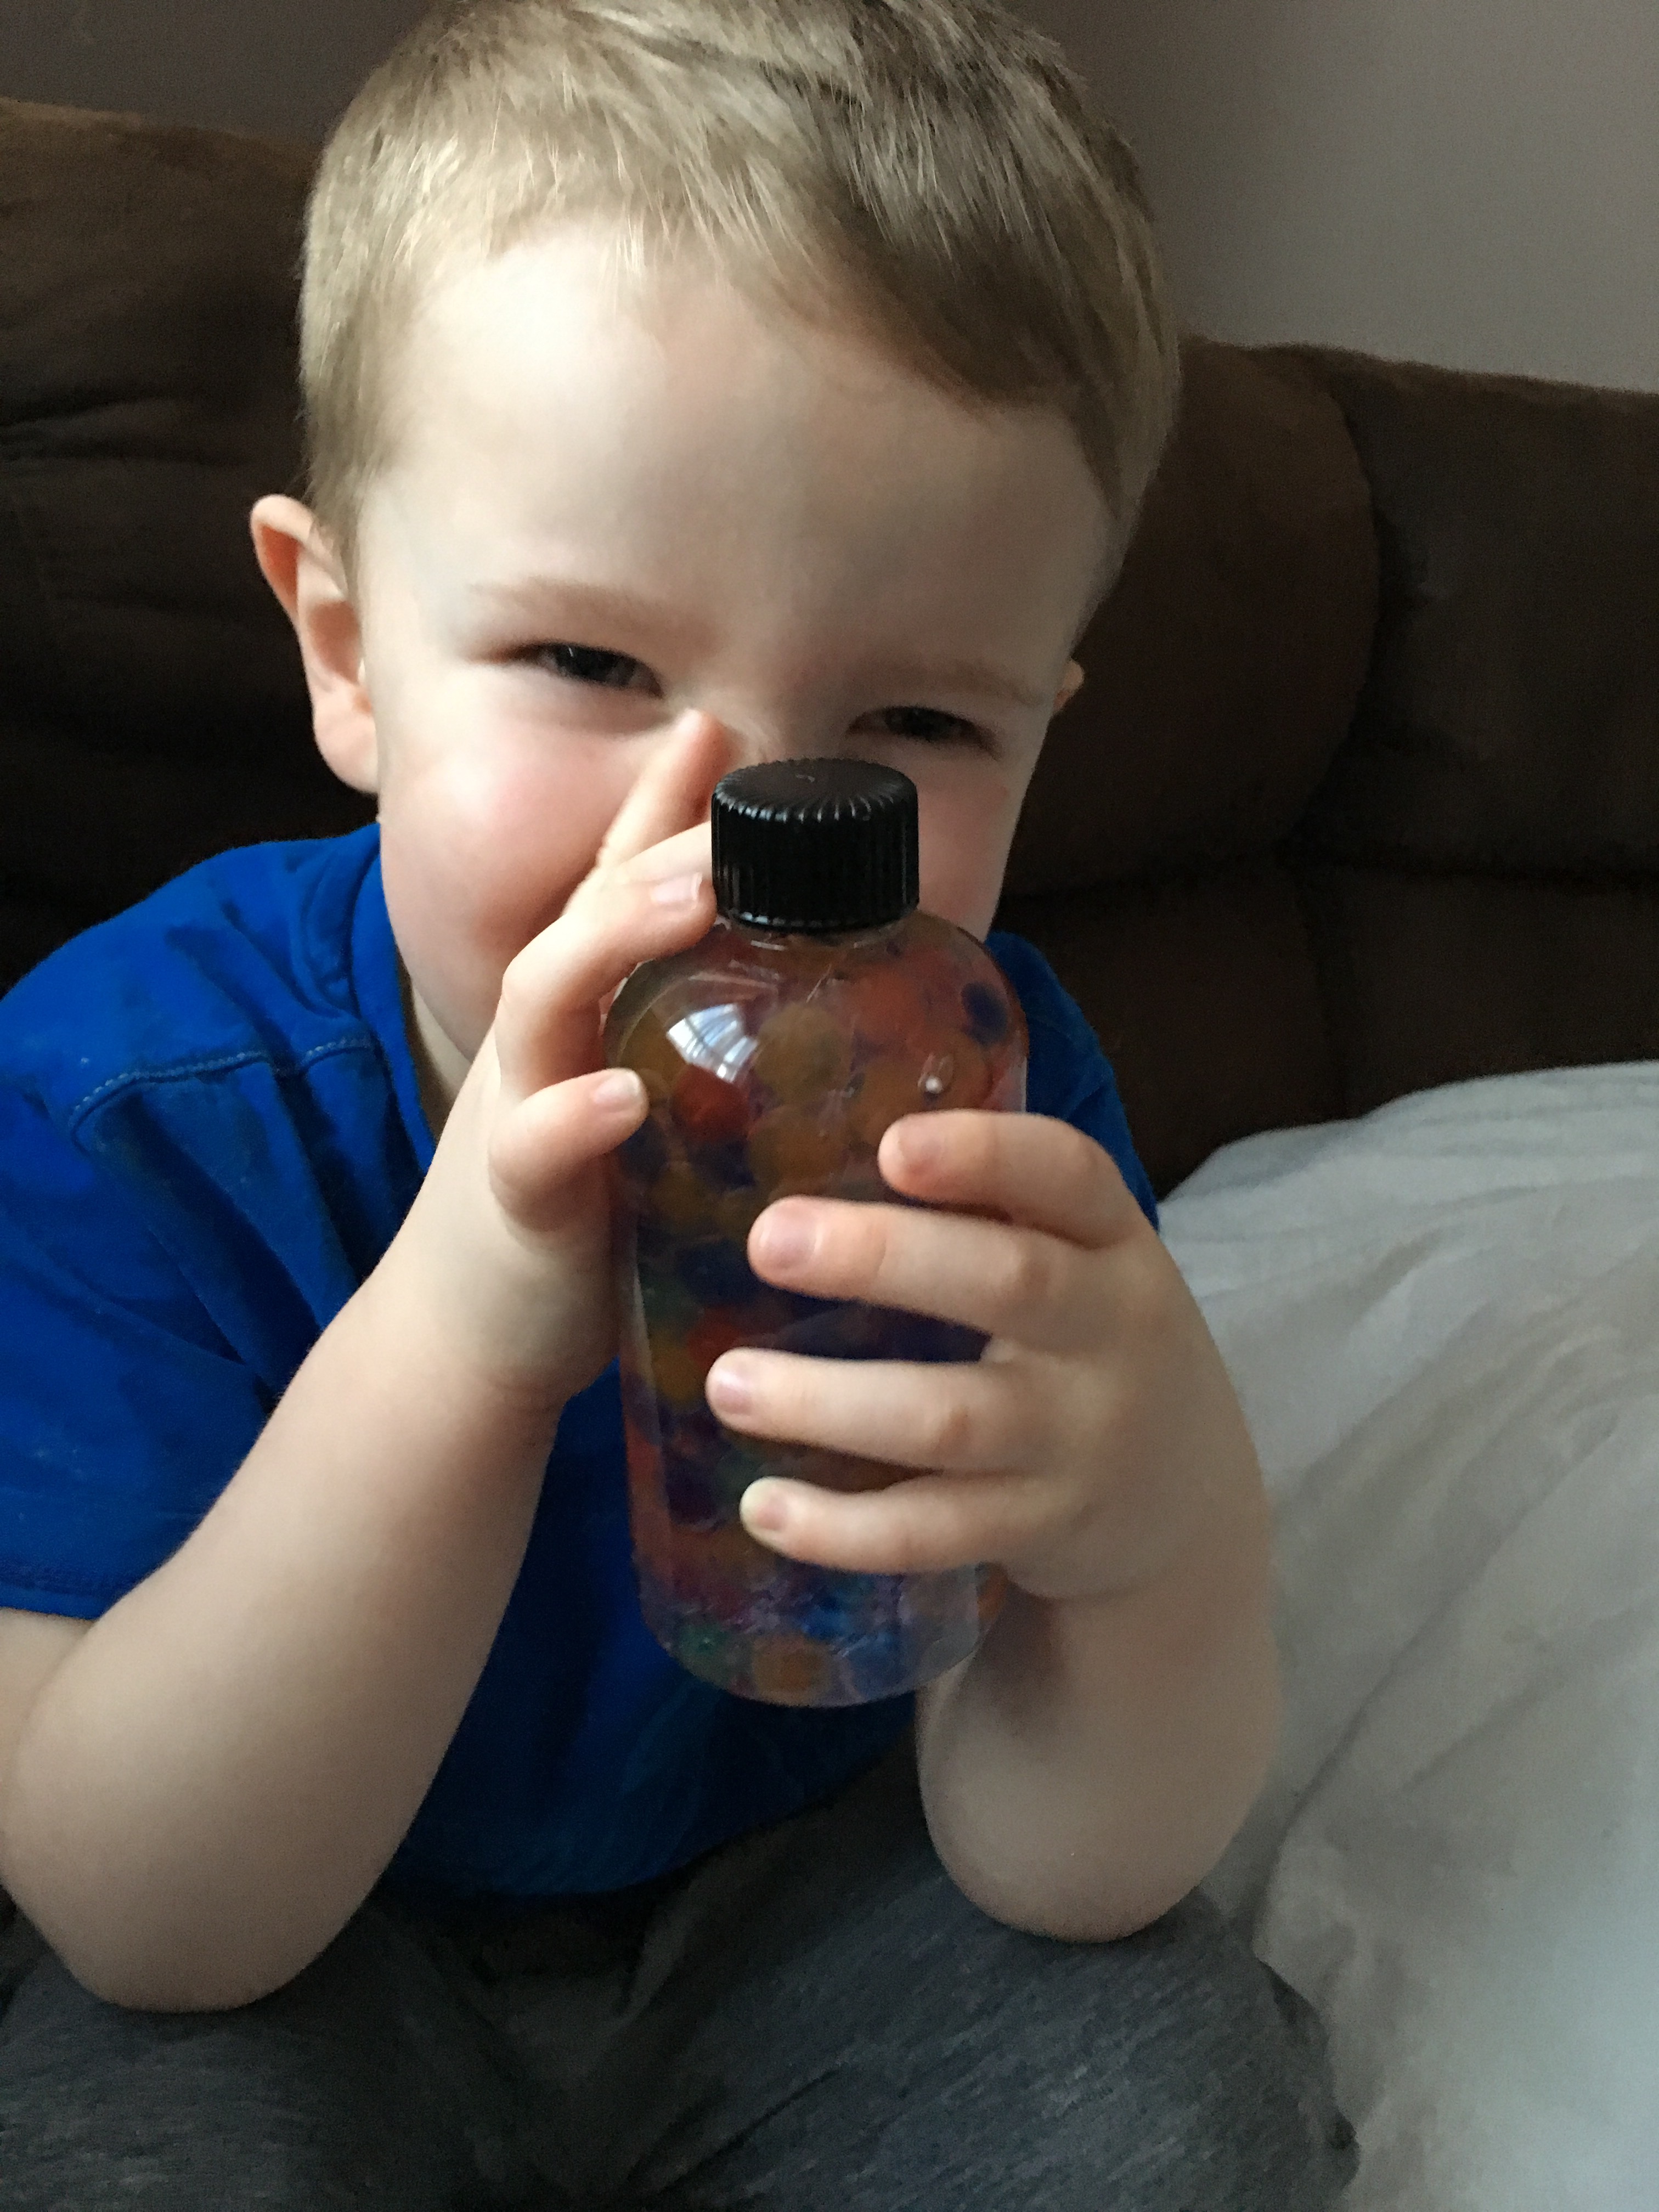
Sensory bottles are so easy to make and can also be super handy for calming down upset children! There’s something super mesmerising about watching the interaction between all the ingredients

The bottles are also really adaptable. Experiment with the amounts, put in plastic toys, feathers, glitters, buttons and so much more!

Here is how we made ours!
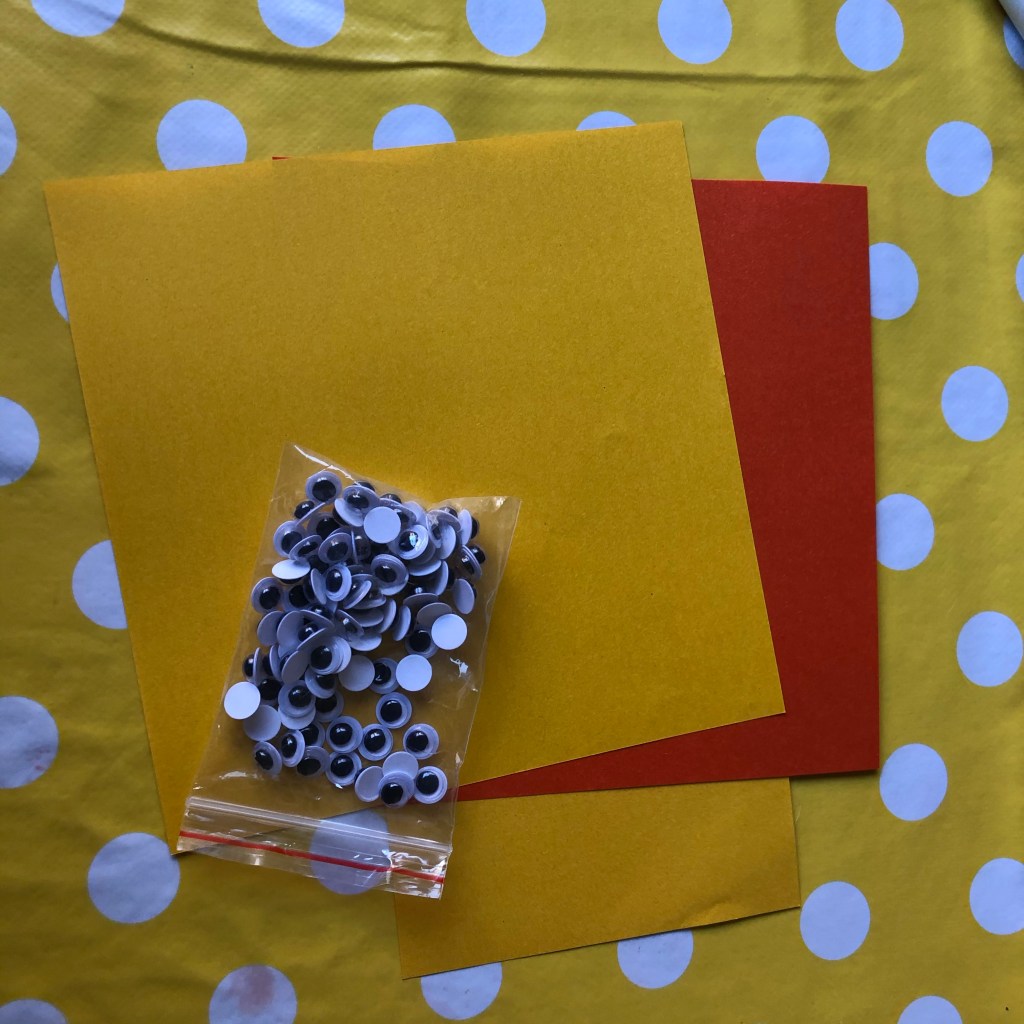
You will need:

  • Plastic bottles (you could recycle your own old pop bottles or amazon sell empty bottles reasonably cheap, we got 250ml bottles but you could go bigger).
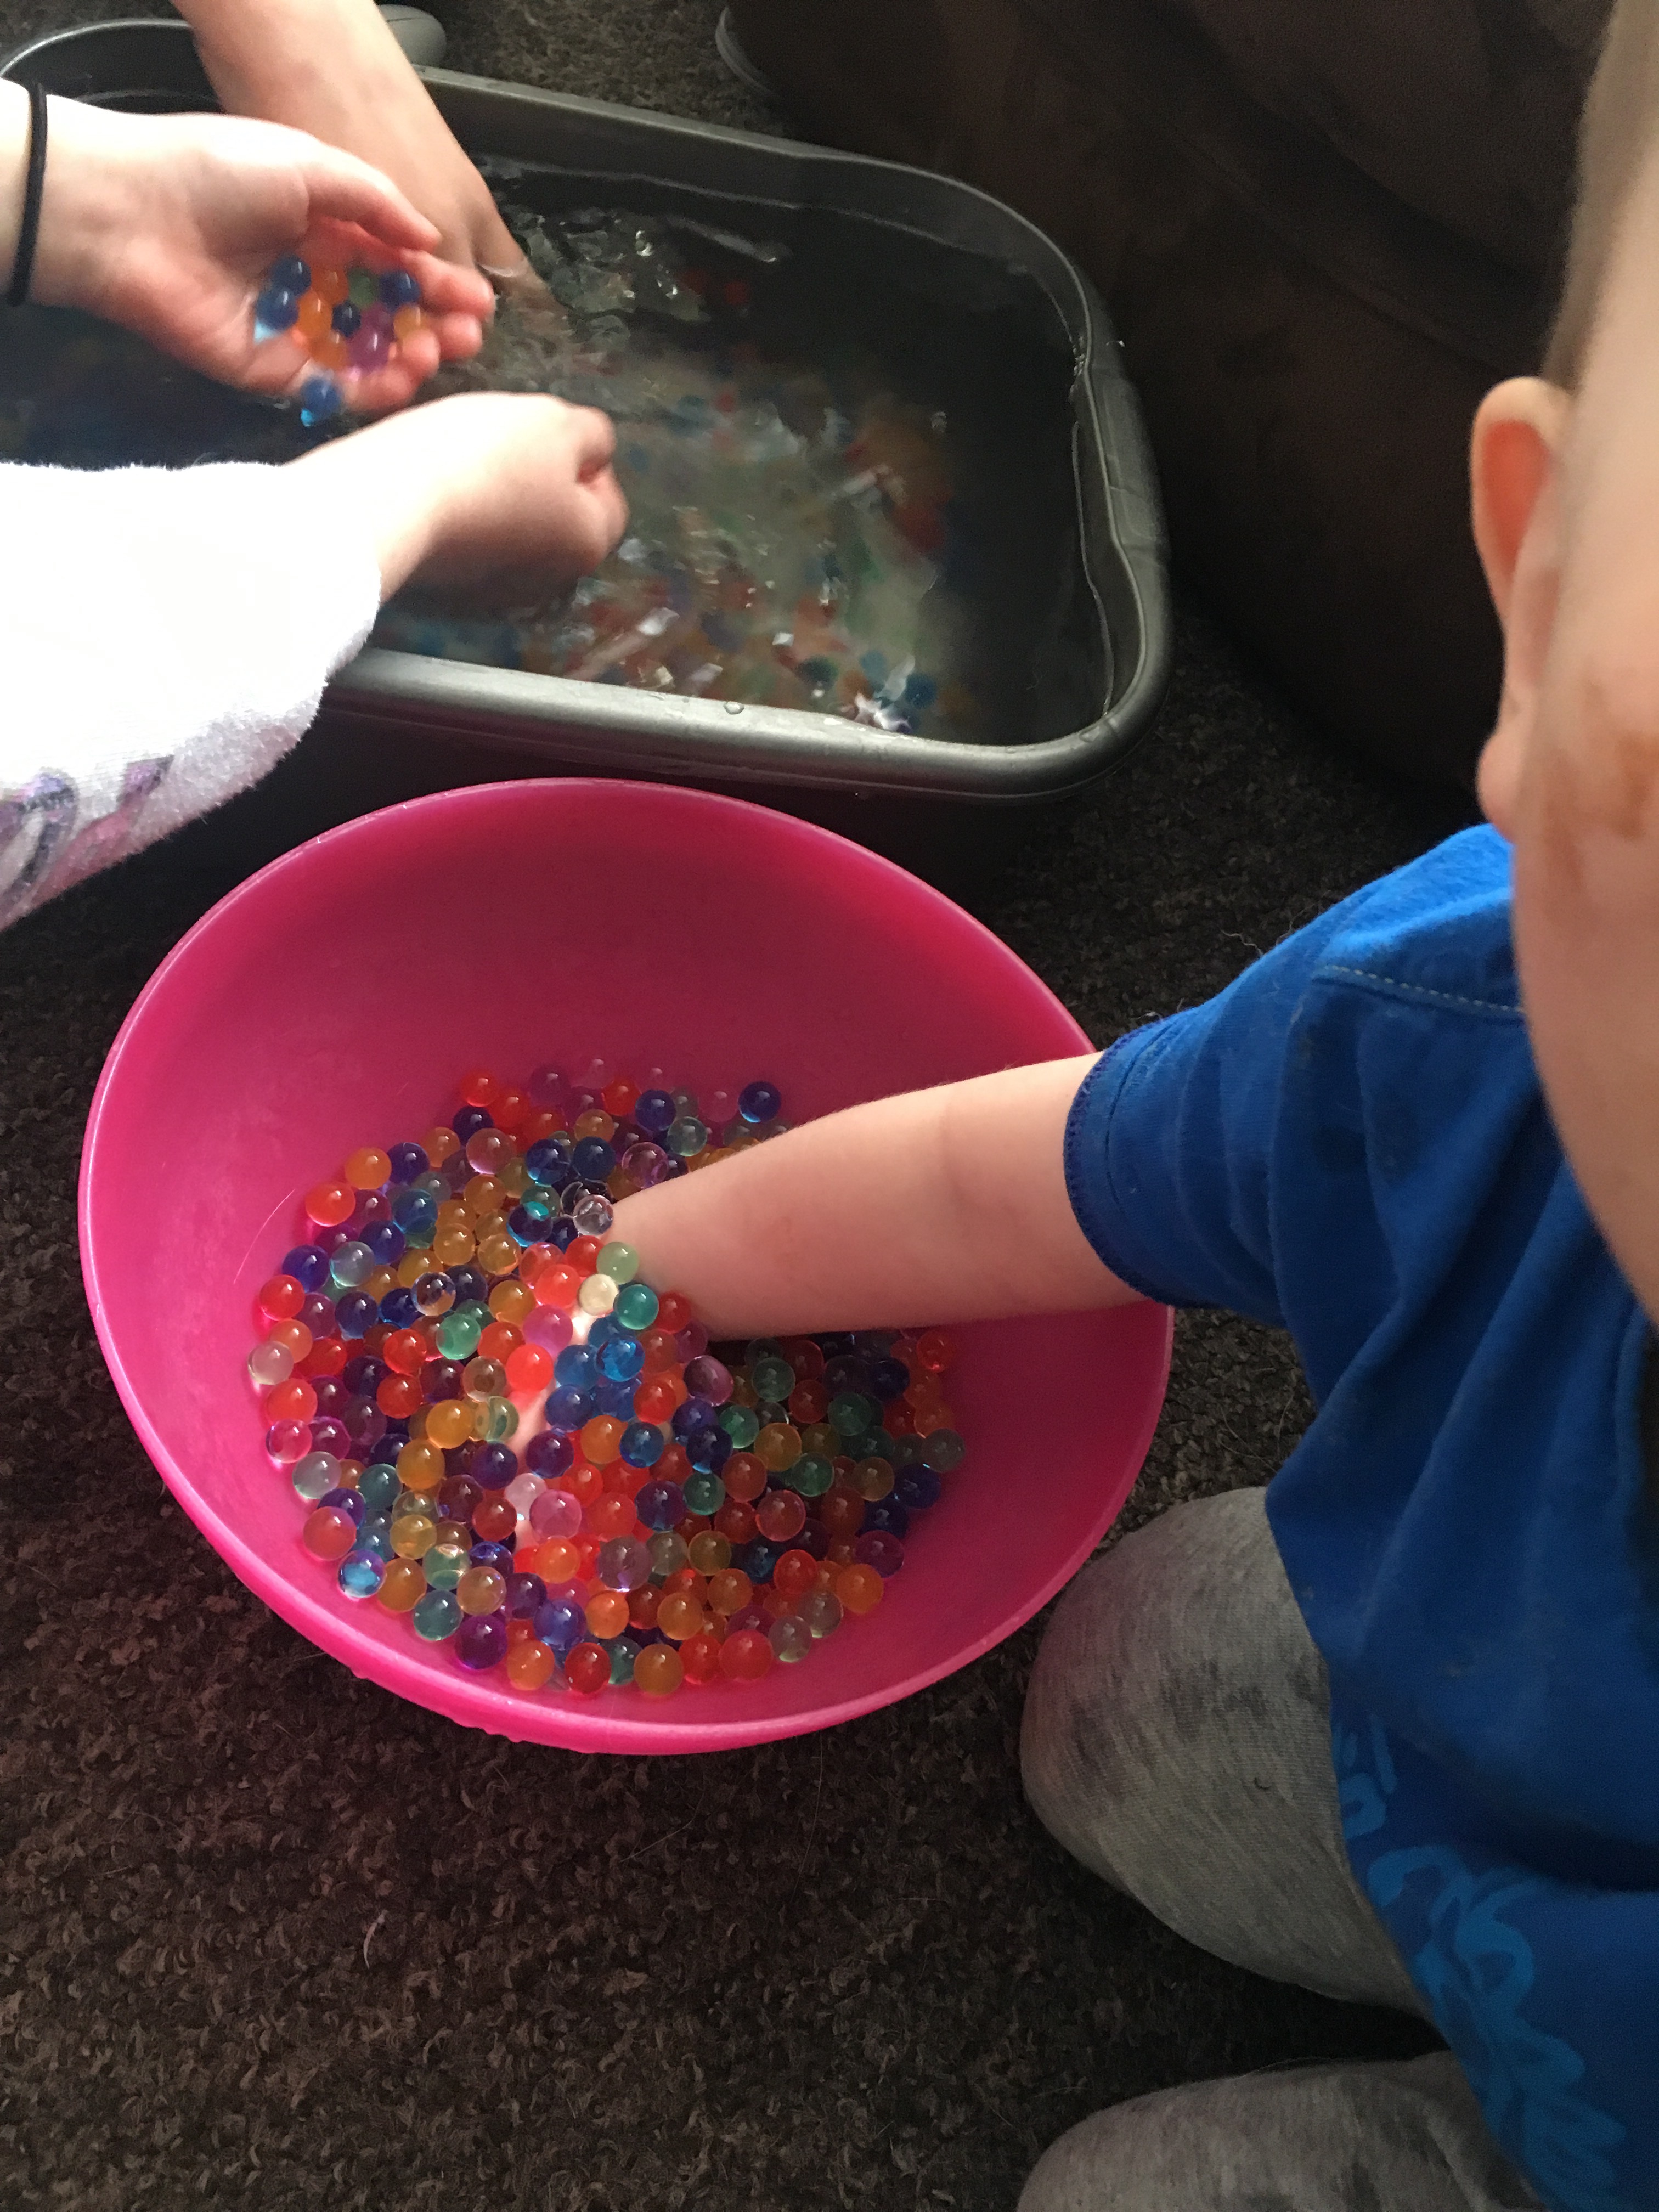
  • Water beads (easily available on amazon or eBay).
  • Water
  • Baby oil
  • Glitter
Method:

Soak your beads, instructions generally say overnight but you can get away with 3-4 hours!

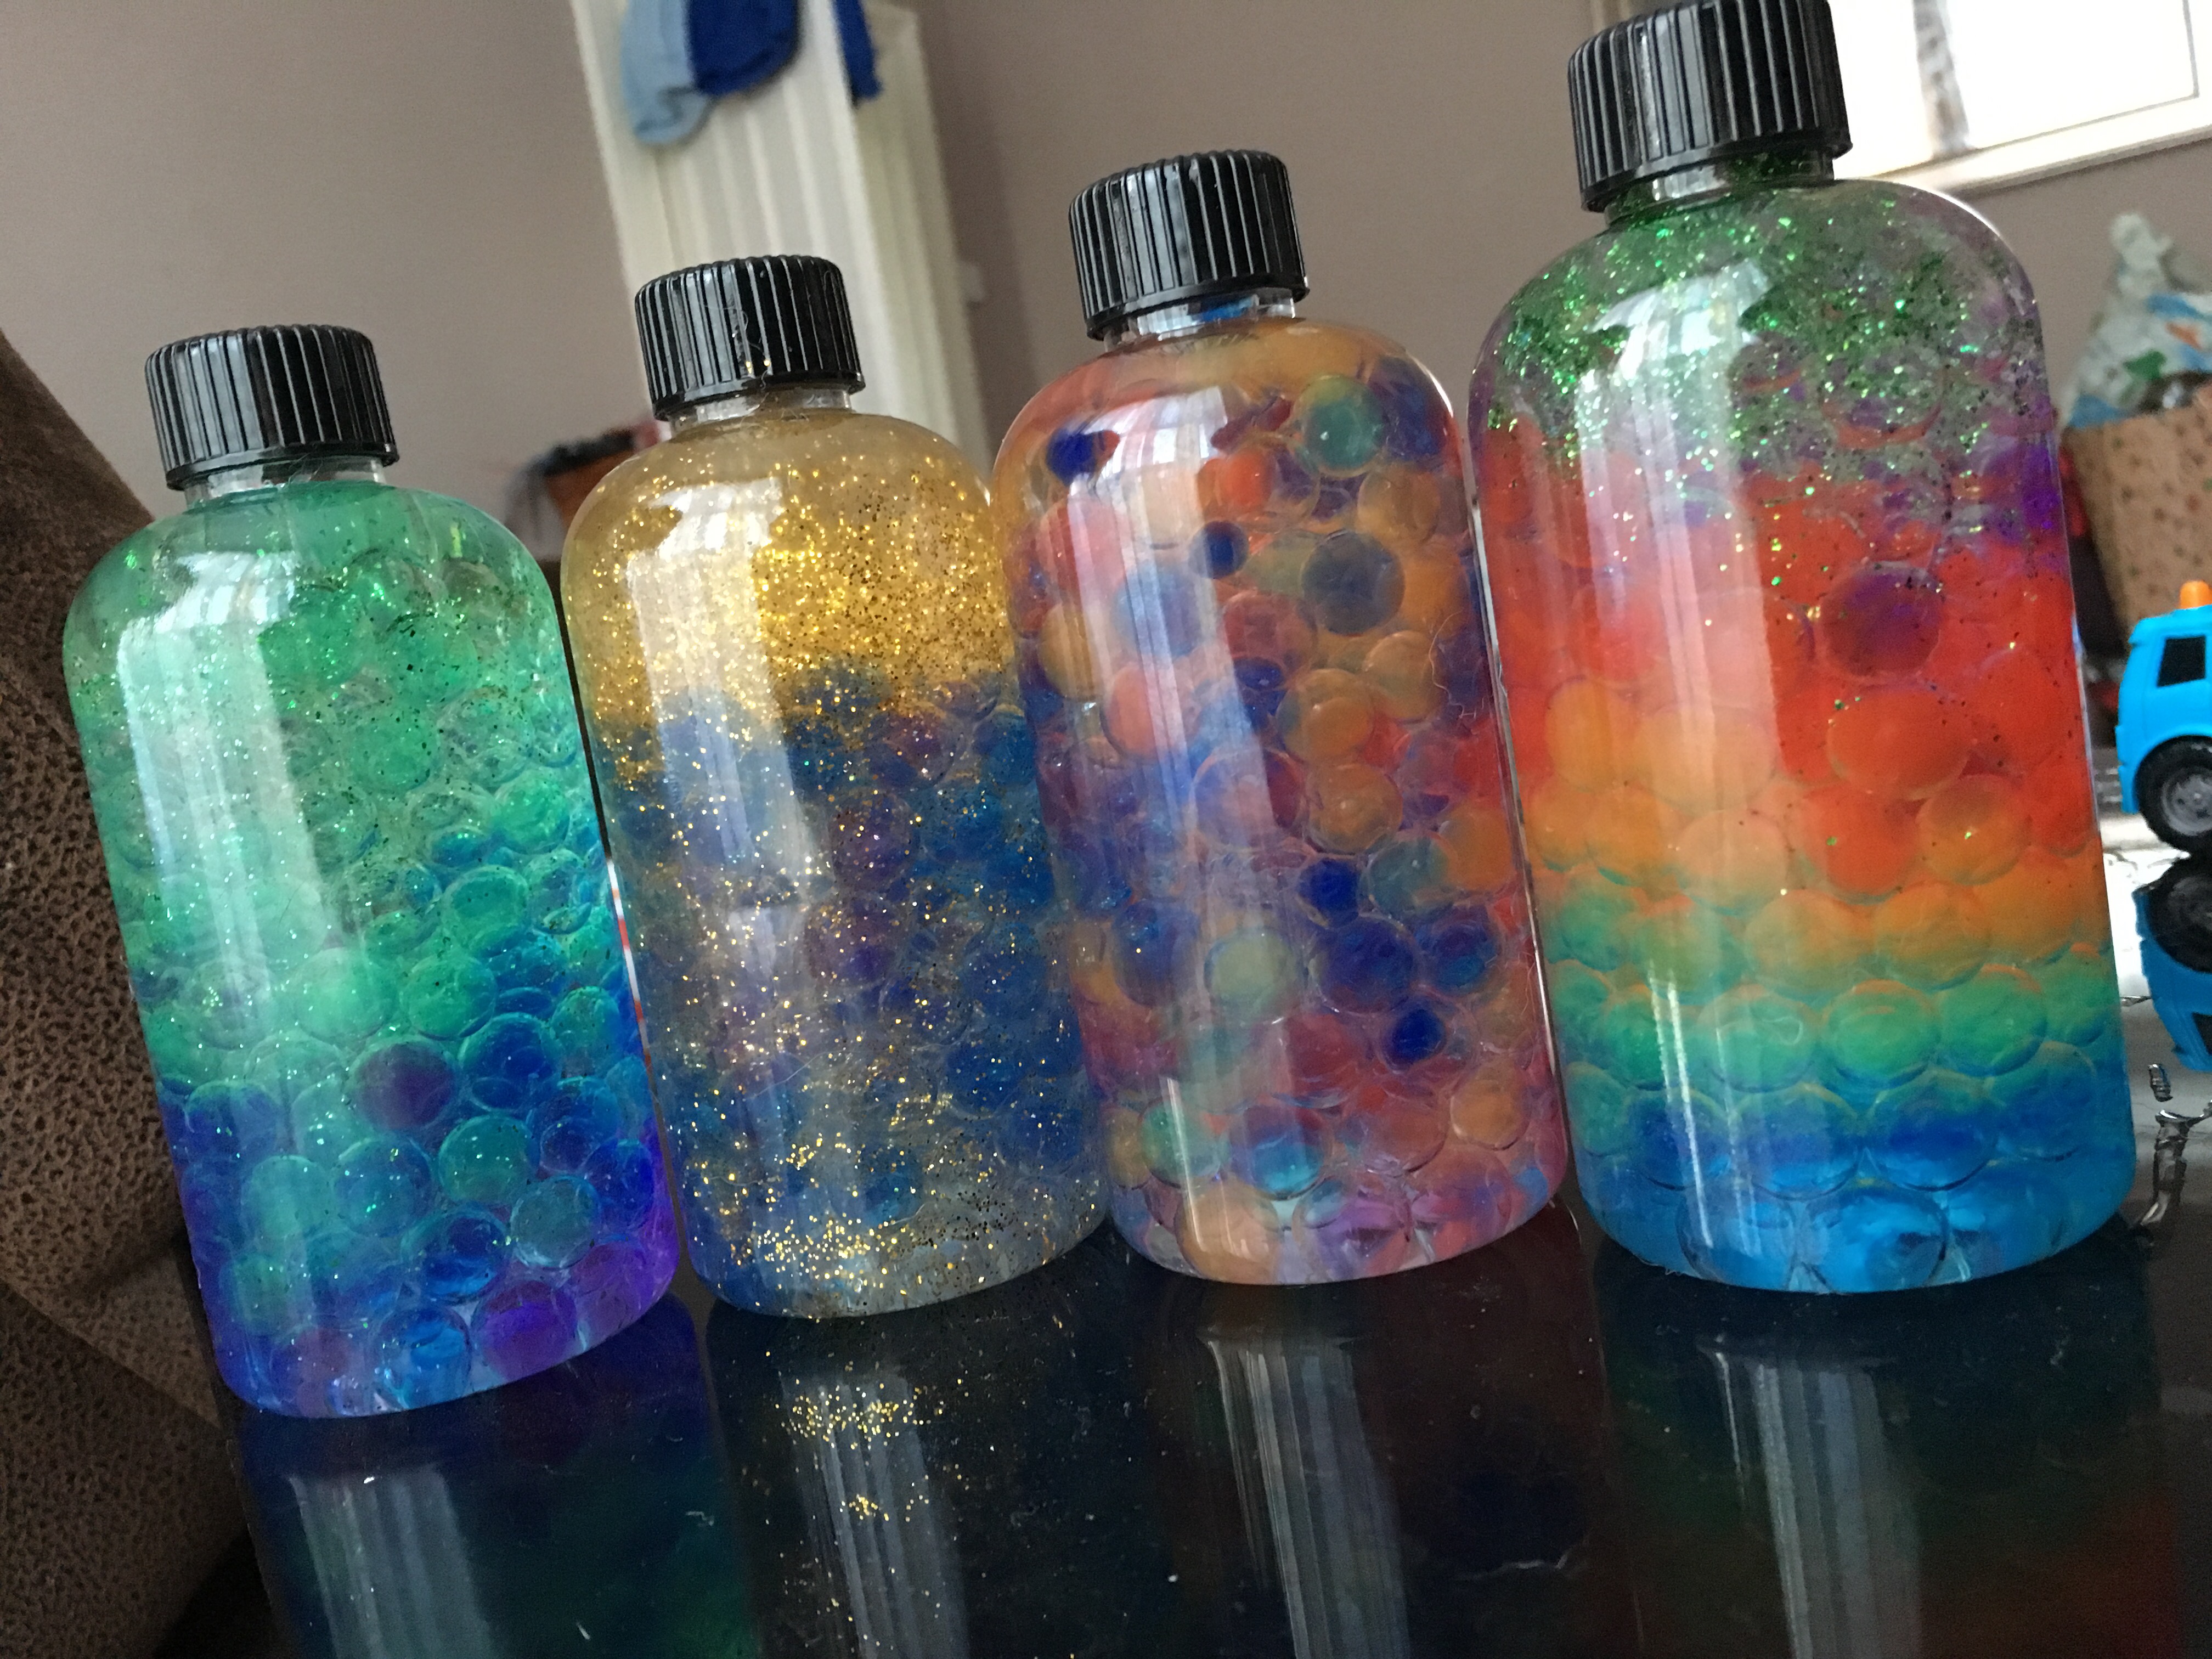
Pick your colour scheme – I went for an ordered rainbow theme, Zak went for clear beads, Kaesey used purple and blues and Toby just grabbed handfuls if any colour. They all looked amazing!

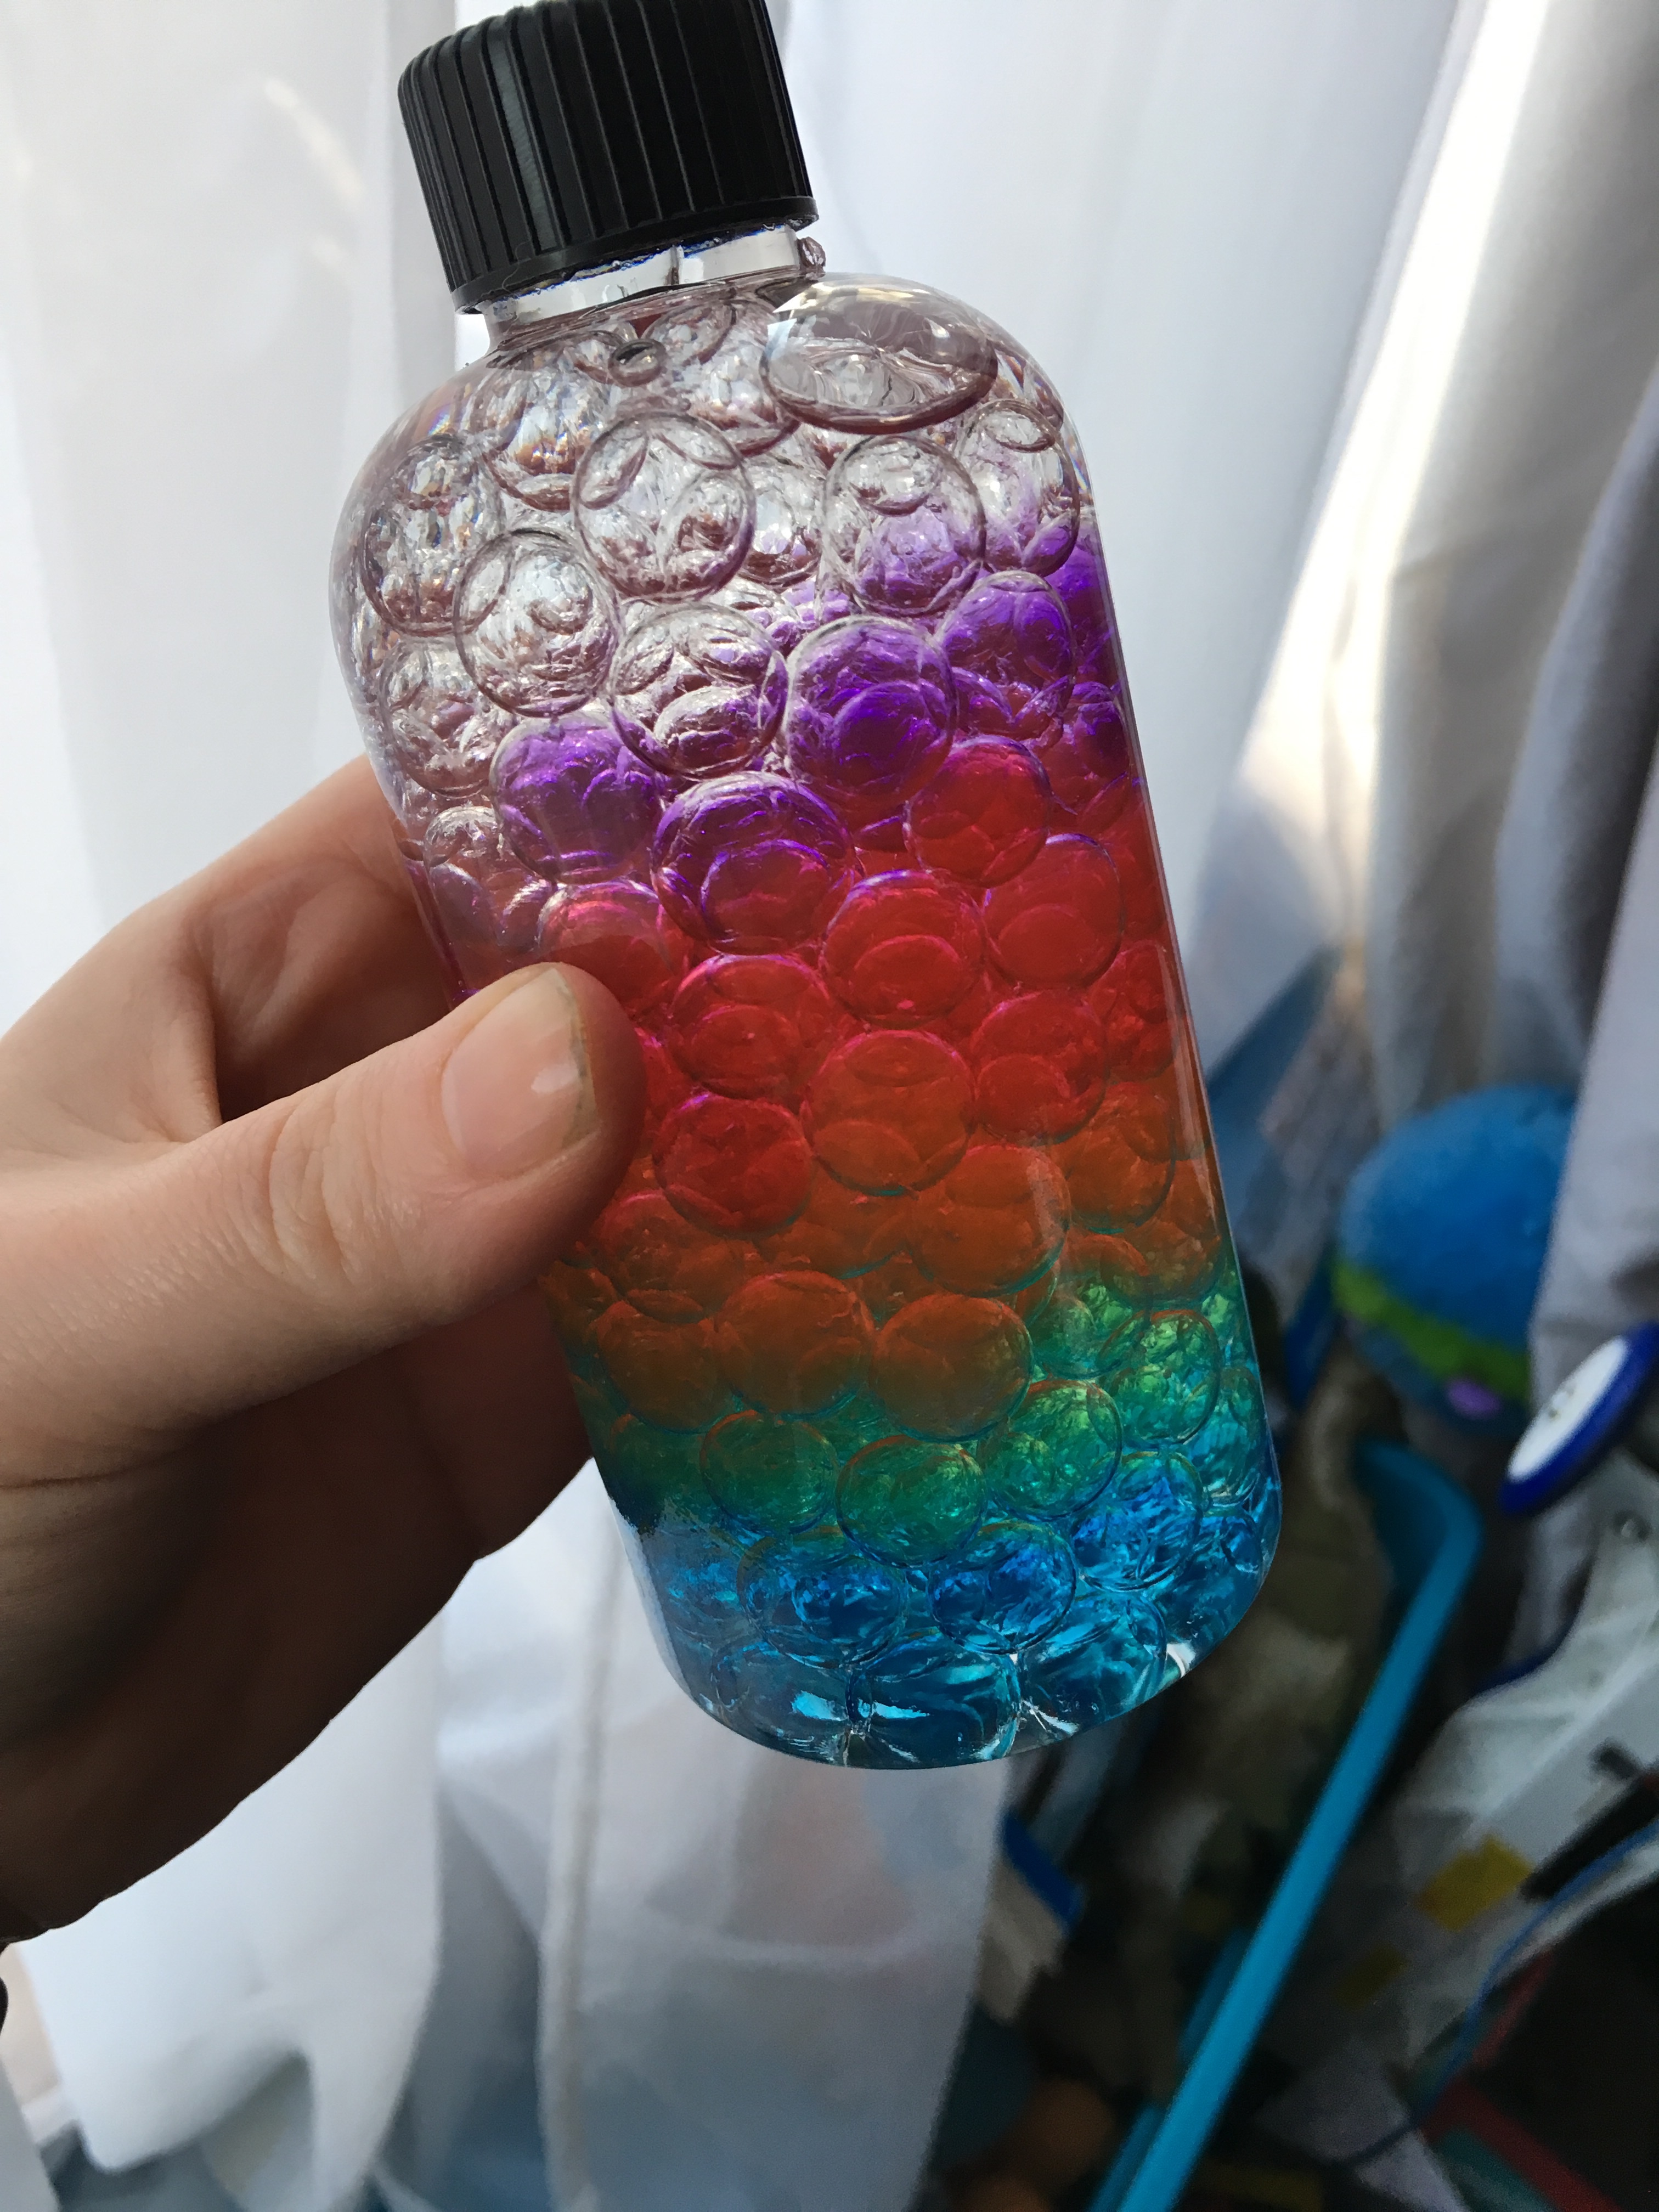
We filled ours to the brim, we then found you’re better off not filling up completely to allow movement which should increase the calming affect!

Once you’ve added your beads fill up the space that remains with baby oil.

Add any glitter you want and close and seal the lid! Hey presto, easy peasy sensory bottles.

If you wanted to add more interesting items such as buttons leave out some of the beads, or all the beads! There are so many different versions of these that would be effective! Fun to make and use!

Just one warning! Don’t take the tubs of beads into a carpeted room! Just don’t! 😂

Video – Sensory Bottles

Paper Plate Christmas Trees With Colour Changing Lights

It’s nearly Christmas (18 days), our favourite time of the year! We love getting crafty and messy. We’re in the middle of decorating the living room at the moment so the telly is off the wall, and everything is piled in the middle of the room meaning no Christmas movies together and no chilling on the sofa with a hot chocolate under a duvet.

Earlier this year we made some chameleons (I’ll do a post about those later) and I had the idea of using the same idea for a Christmas tree with colour changing lights.

I wanted to try it at the school I work in first but couldn’t get hold of paper plates believe it or not so we made them at home!

Here’s how we made them:

Draw a simple Christmas tree design

Poke holes in for lights

This can be done before or after colouring in your tree

Colour away

Colour the lights

We did lots of different colours all over a second paper plate. Toby’s colouring his is in every single colour we have. He also has a moustache and part glasses after the elves drew on him through the night!

Lots of bright colours!

Attach the lights to the back of the tree with a split pin

And spin!! Watch your Christmas tree lights change colour!

Toby was delighted with his tree 🥰

These took us around 20-30 minutes which was perfect for Toby, he’s 4 and hasn’t the greatest attention span so any longer and he’d have soon got bored. You could do much more intricate trees using the same idea which would take longer and be ideal for older kids.

We used double tipped pens – they’re brushes on one end and normal pen tips at the other. I use them for bullet journaling. Paint would probably be good, if not better, but we’re all out for the first time in years! Time to top up.

On that note I’m away shopping now, Merry Christmas 🎄